The Tubaphone is a melodic percussion instrument in the metallophone family. It sounds somewhere in between a vibraphone and a glockenspiel (or “bells”), in that it has more of the attack of a glockenspiel but some of the mellowness of a vibraphone. Despite it’s pleasant tone, this instrument has never been commercially made.
The idea for building this instrument began while I was in high school. My family had an old set of wind chimes in our backyard that had survived thunderstorms, hurricanes, and a tornado. One day, unceremoniously, the cord holding the tubes to the frame gave out. At this point I’d been playing melodic percussion instruments for a number of years so I decided to take these broken wind chimes and build a frame for it. The result was a 5 note, pentatonic melodic instrument with a 1 octave range of D5 to D6. After starting my UX Design Immersive at General Assembly, I realized this project had followed a similar path detailed in the UX Double Diamond process.
Many years later, after graduating college and starting my music career, I began thinking about this instrument again. I had spent much of my time in college studying marimba and vibraphone, and now I had almost no access to these instruments. I craved playing one, but buying one was out of the question as the best ones cost thousands of dollars! So I started researching what it might cost to build a tubaphone.
My research took me to a number of websites. This one, written by Lee Hite, proved to be the most helpful: http://www.leehite.org/Chimes.htm. It covers a wide range of topics including design decisions, note selection, and material selection.
As I read through this website, a number of questions began to form.
- What thickness do I want and how does that change the sound?
- What diameter do I want?
- How many feet do I need?
- What range of notes do I want, and do I need all the notes in this range?
And, most importantly:
How much is this going to cost?
While I was going through this research process, I tried to keep these goals in mind:
- The tubaphone needs to be much more affordable than most melodic percussion instruments.
- I need to be able to easily transport it, so it has to be durable and not too heavy.
- I need a way to take it apart and condense it depending on the space available in a given vehicle.
- I need to have enough variety of notes so that I could use it in different settings.
- It needs to sound good.
PROBLEM: “I need an alternative to currently available mallet instruments because I am recently out of college and cannot afford to buy one but want to continue developing my musical abilities.”
SOLUTION: “An affordable, durable, and transportable mallet instrument that sounds great, can be used in a variety of musical situations, and allows me to continue developing my mallet skills.”
In order to properly answer all my questions and stay aligned with my goals, I ordered a number of different sizes of aluminum tubing from a website called Speedy Metals. I tried out tubes with a 1/2”, 3/4”, and 1” outside diameter (OD) and ones with a .049”, .065”, and .125” wall thickness. I tested these tubes out with various mallets, listening for the one I liked the best.
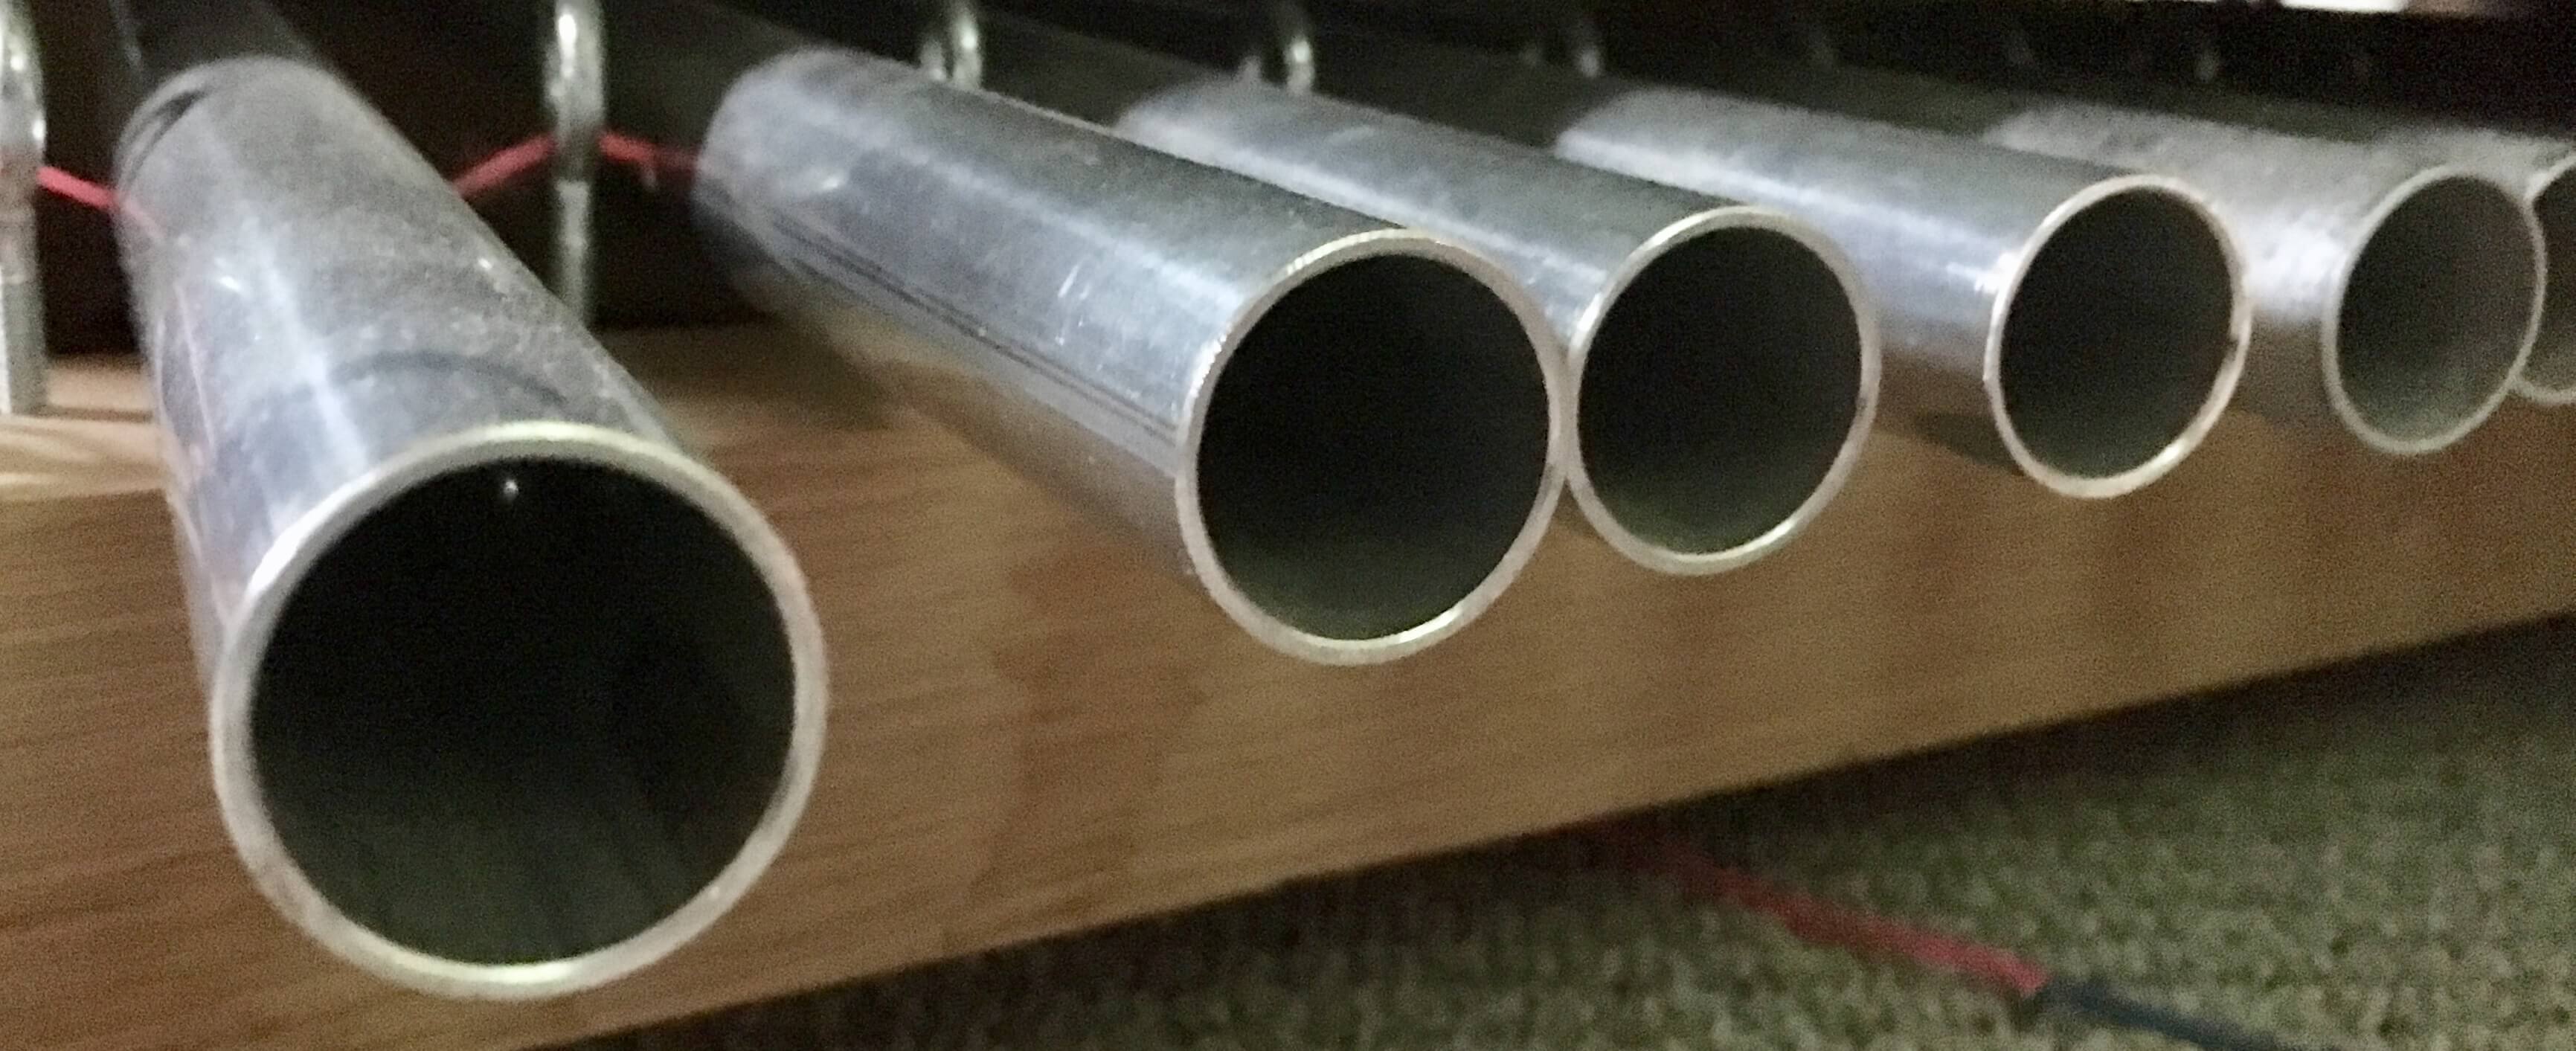
I eventually settled on the above OD and wall thickness for two reasons: It sounded good and it matched the size of the tubes from my old wind chime.
As far as note selection went, I went through the music I had recently been composing to see what I needed. I already had D5, E5, G5, A5, B5, and D6 from the original wind chimes and I figured I wouldn’t need to go much lower than this (Later I learned that notes below A4 tend to not sound as good with the material I used). Between the music I’d written and the notes I already had, I settled on a range of A4 (the “A” above middle C) to B6. This would give me a 3 octave range similar to most vibraphones.
Now that I knew how many feet of tubing I needed, I was ready to purchase.
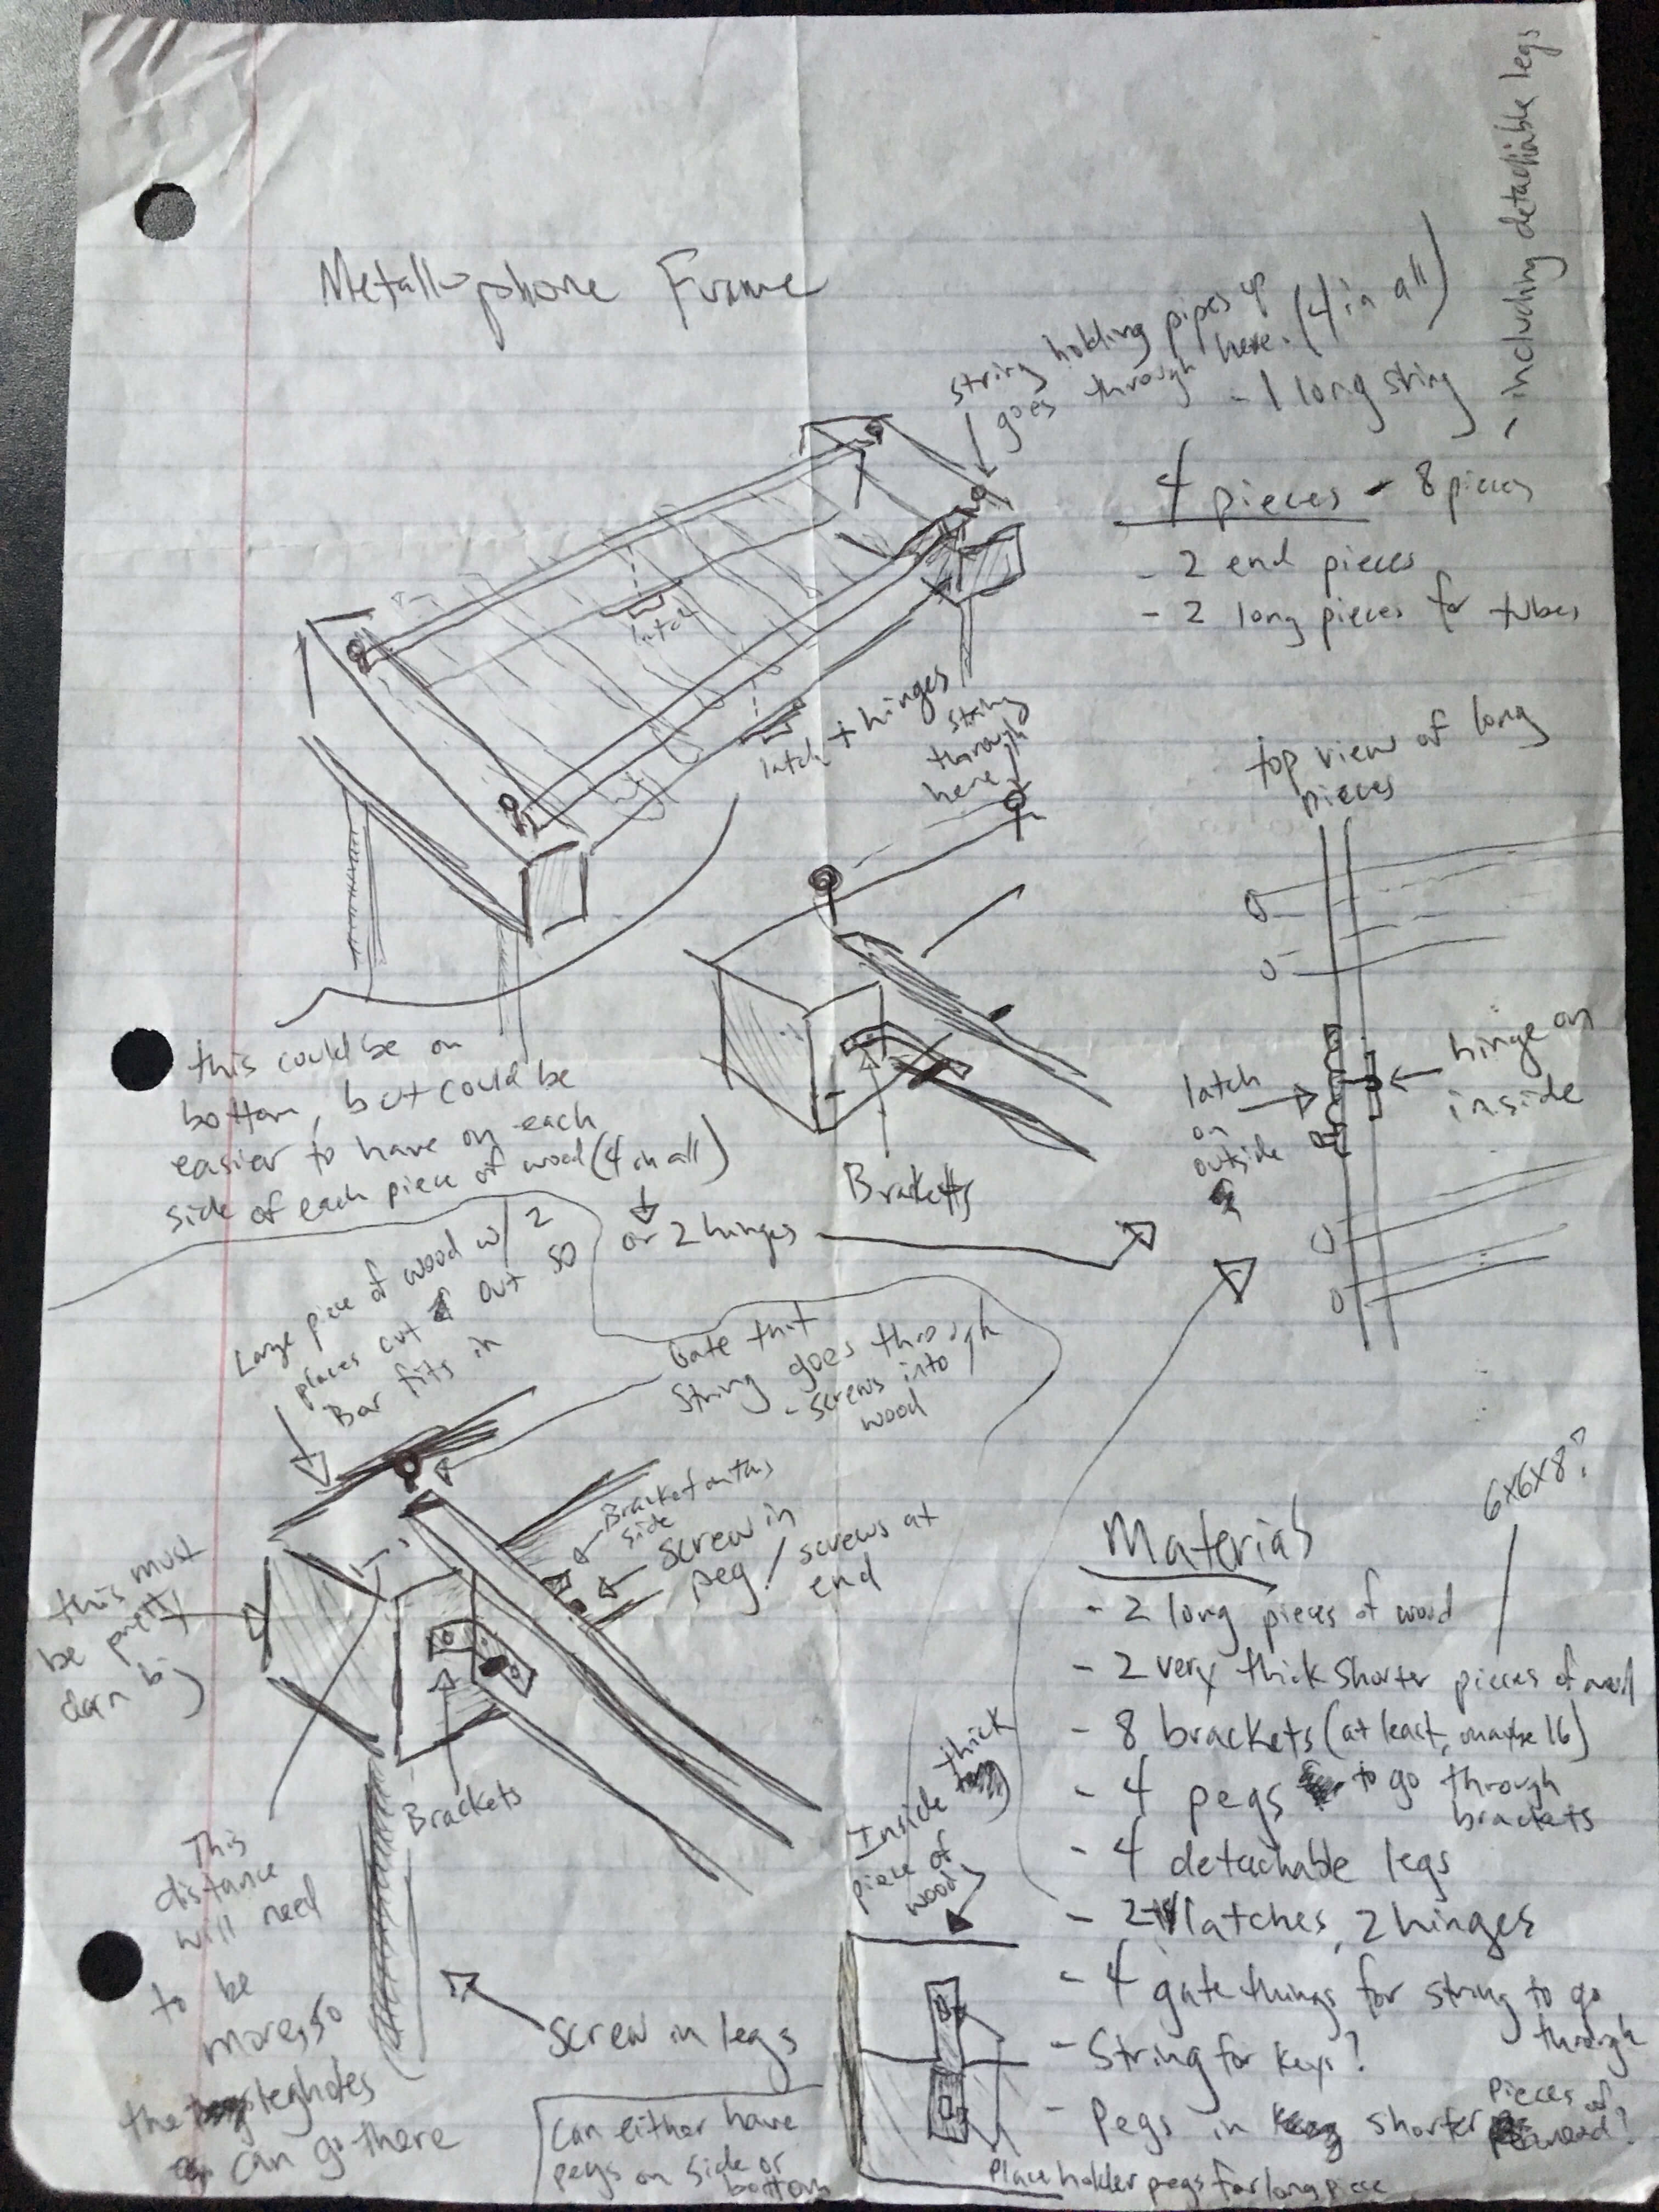
I spent the next two weeks touring through the midwest and west coast with one of my bands. We had a fair amount of long drives, during which I would sketch and iterate on possible design solutions. I recently found these sketches in a box I had in storage. They show the various ideas I had for the frame and how much of certain materials I might need.
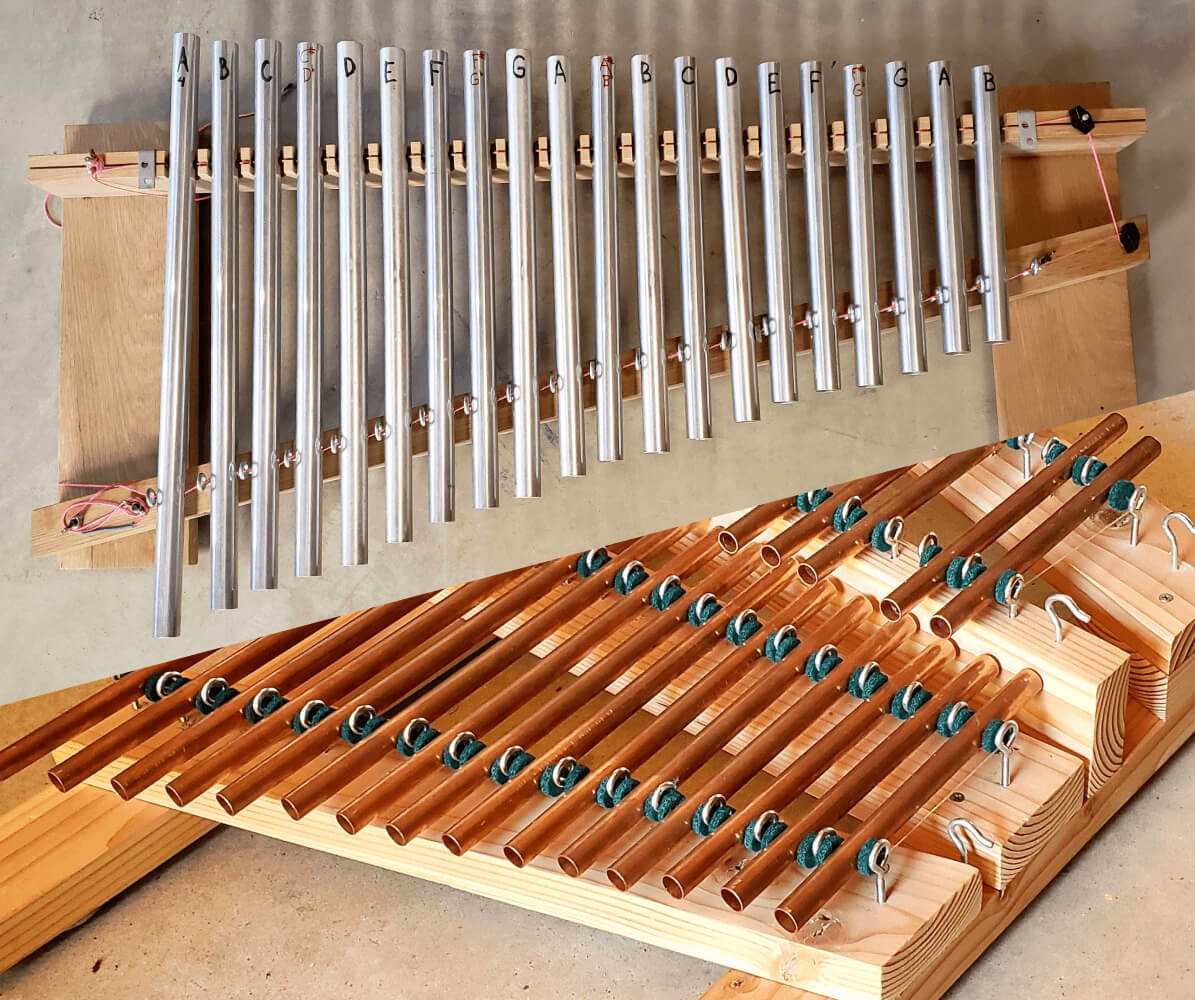
Over the course of many months, my friend and I built this tubaphone.
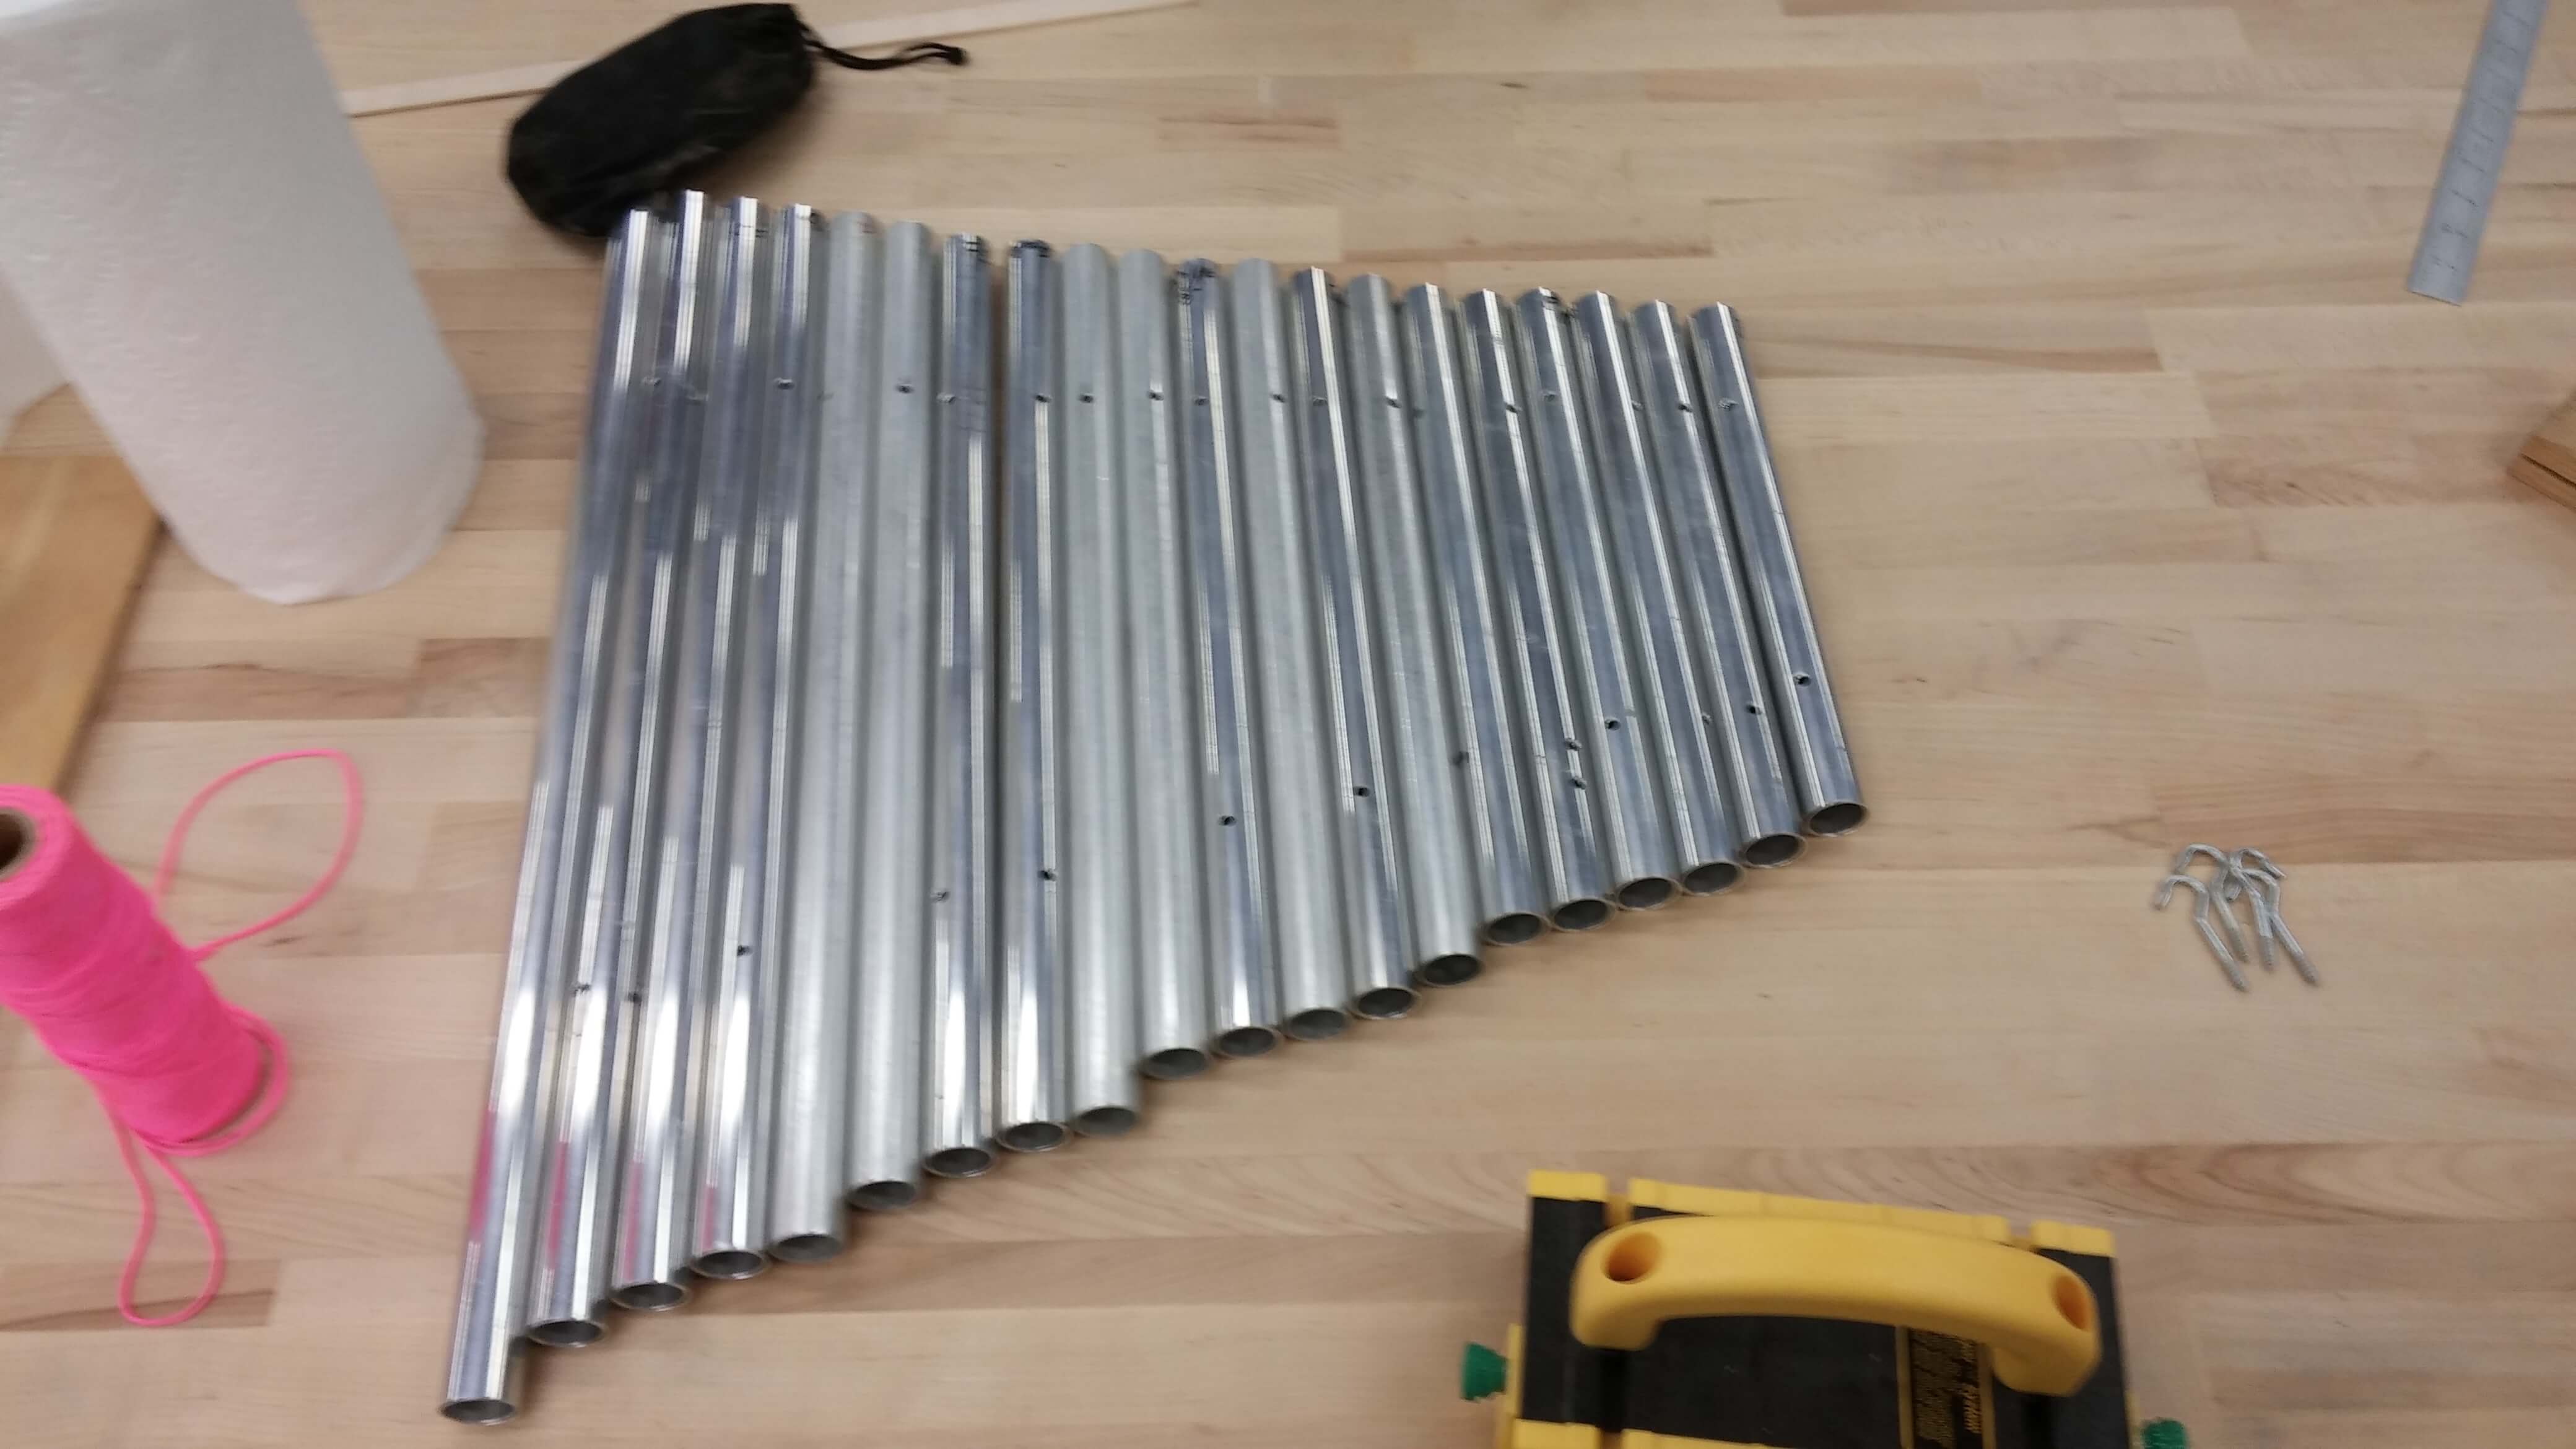
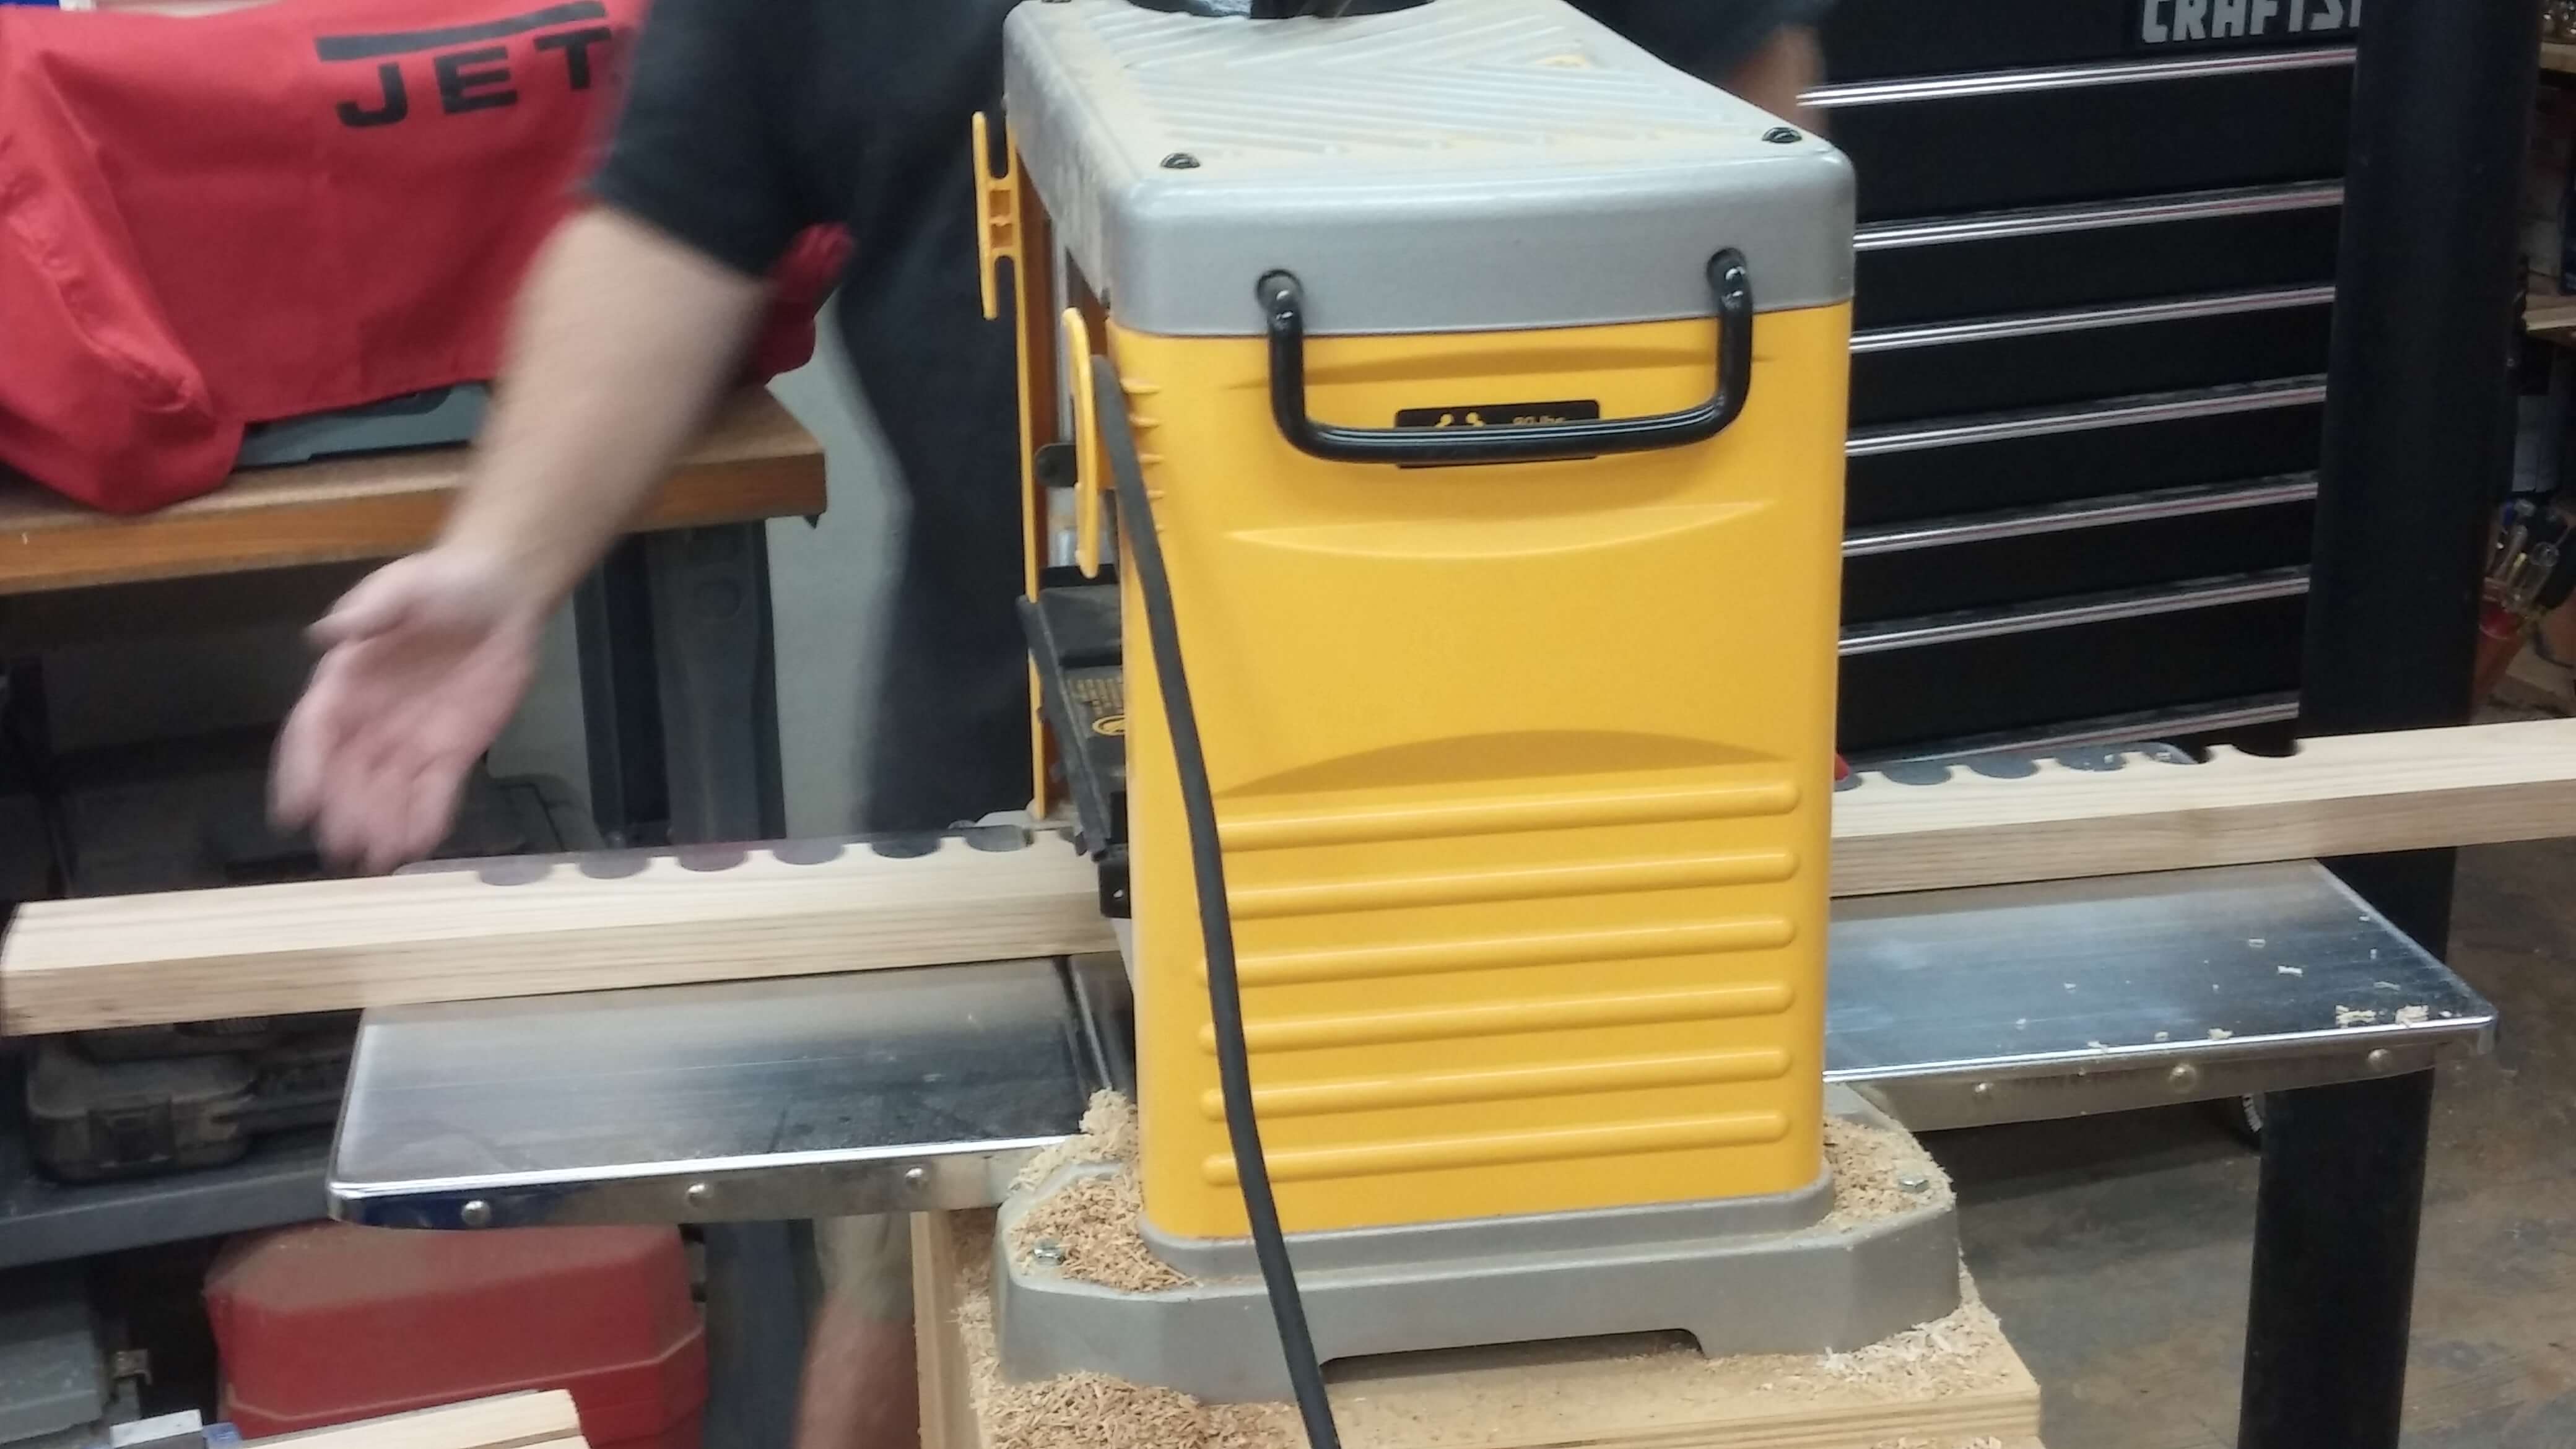
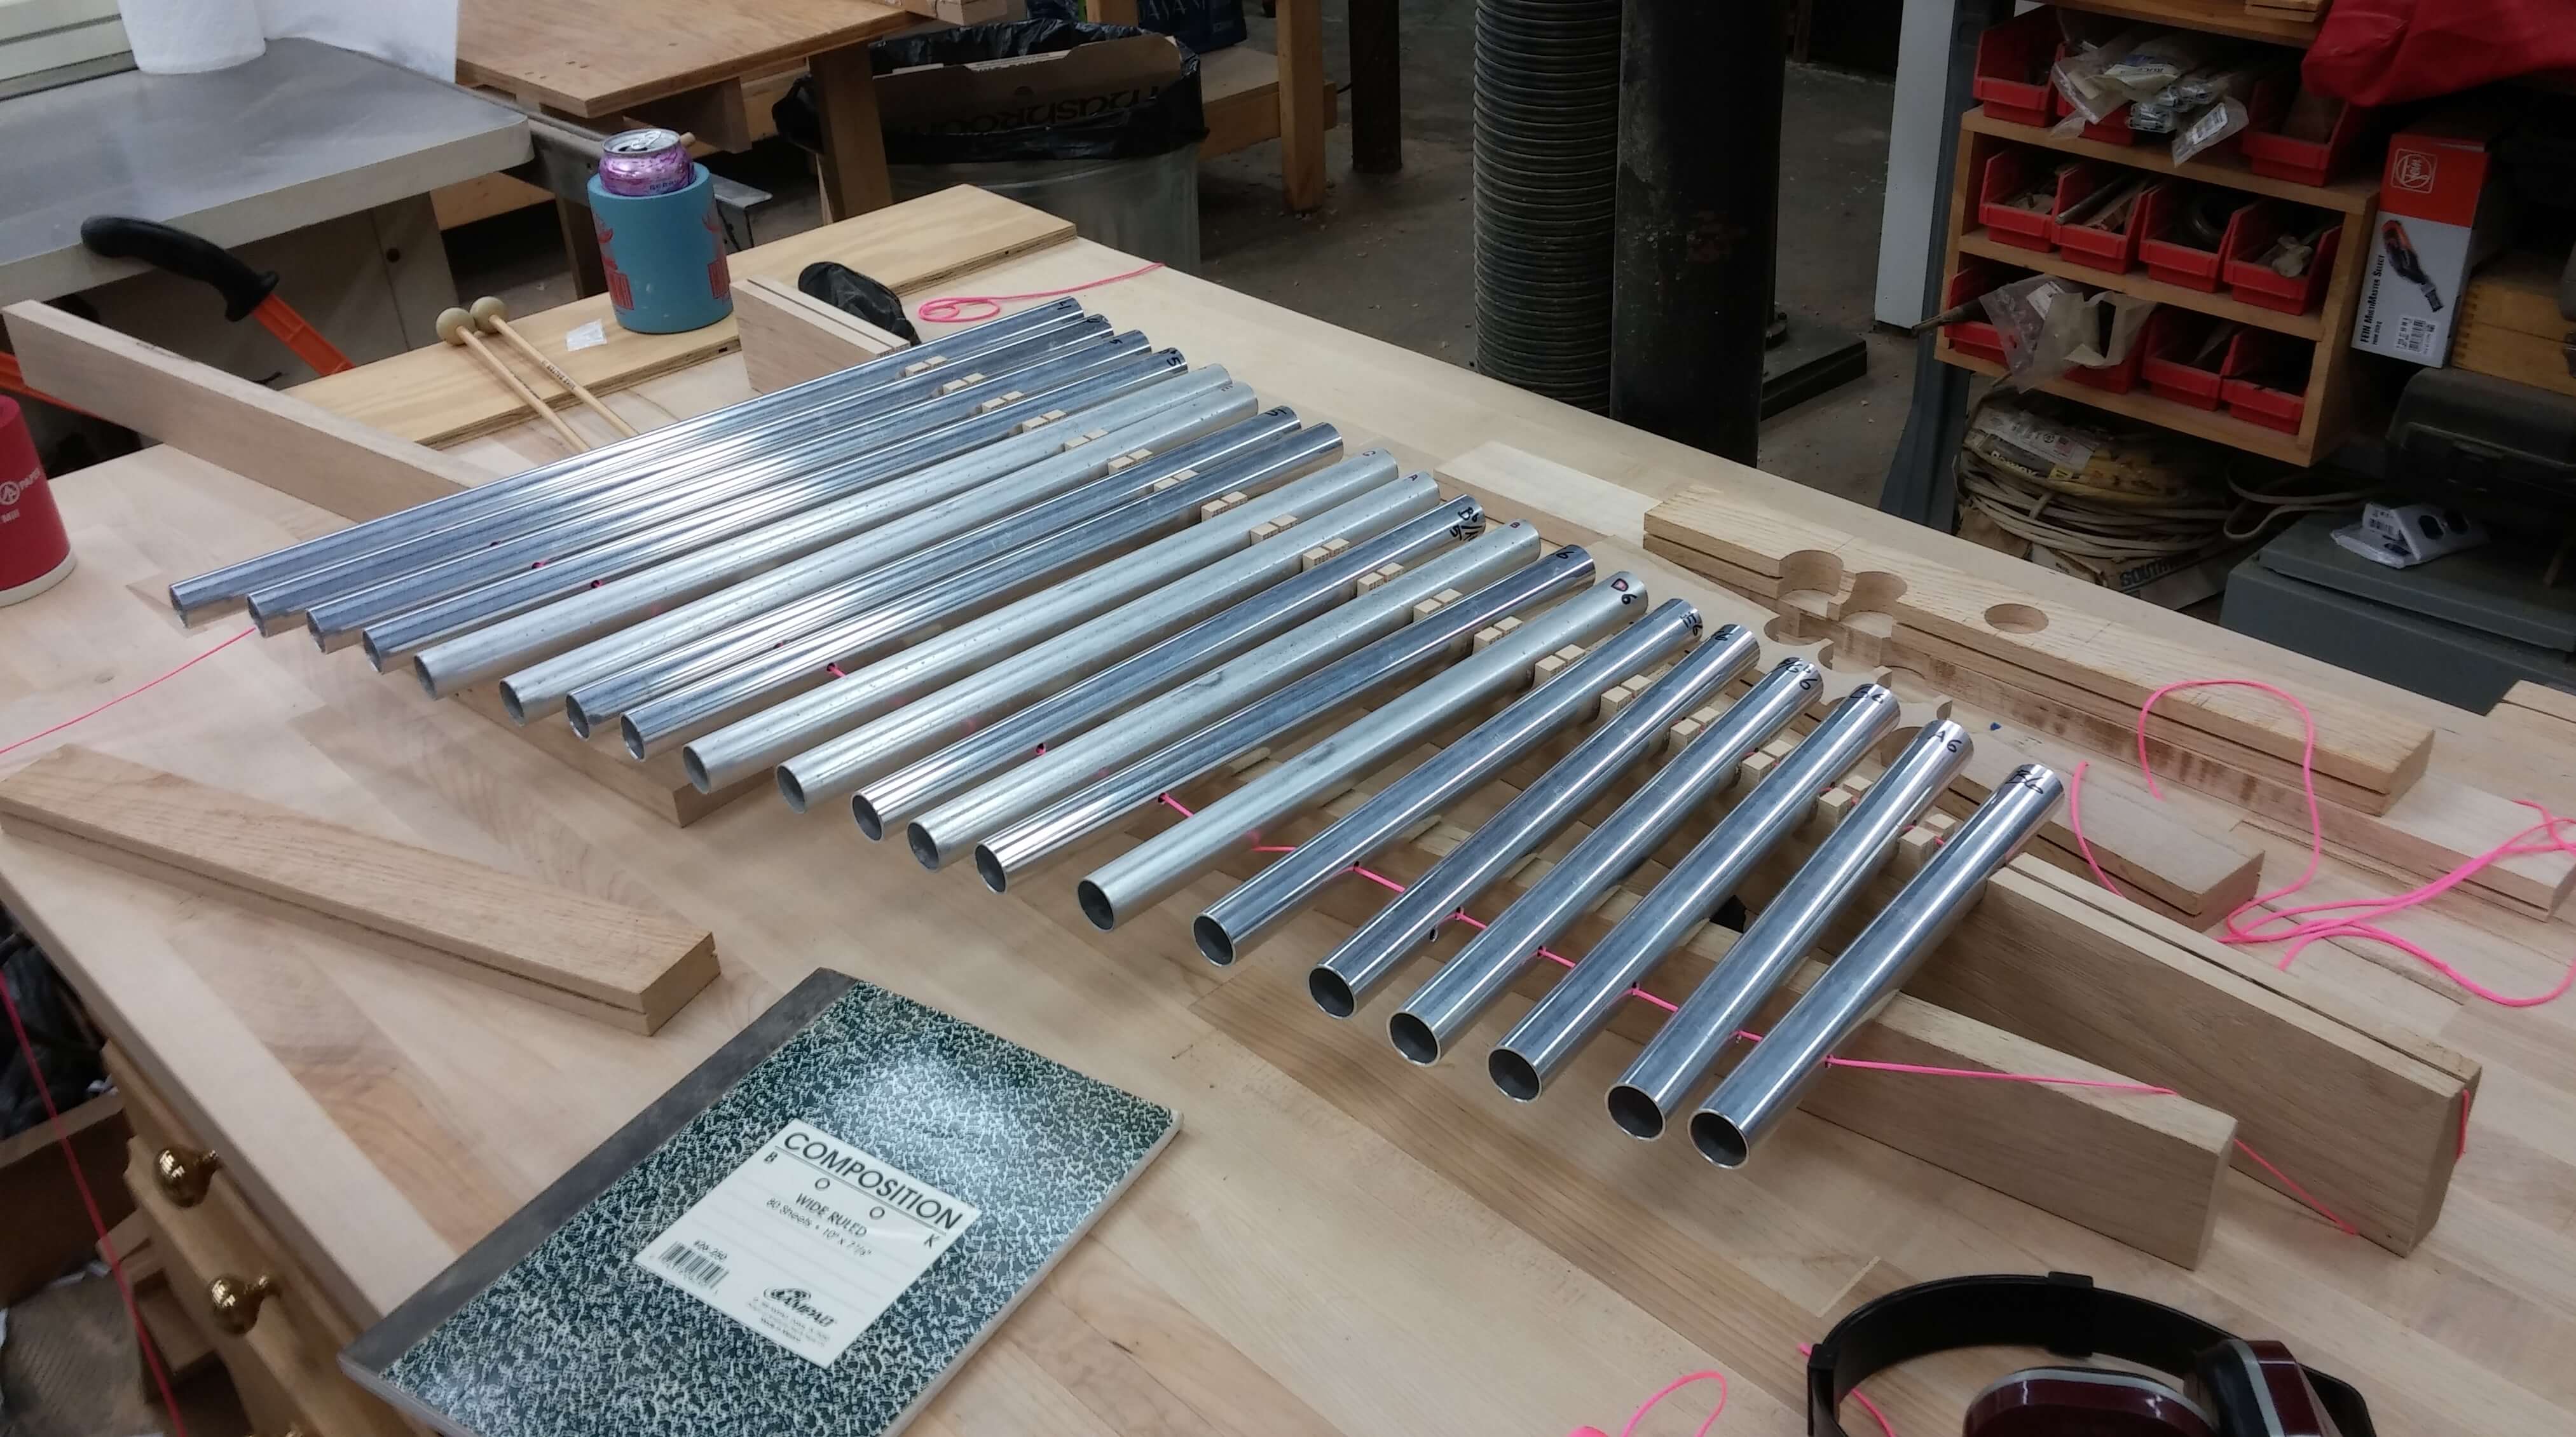
We started by measuring and cutting all the aluminum tubes. From the website I was using, I knew the general length that each tube needed to be. To be safe, and since I really didn’t want to spend any more money on aluminum tubing, we decided to add an inch to each of those lengths and cut the tube down until it reached the desired note. We checked the pitch of each note in-between cuts with an app called “PanoTuner.” For the most part, each tube is within 10 hertz of the desired frequency.
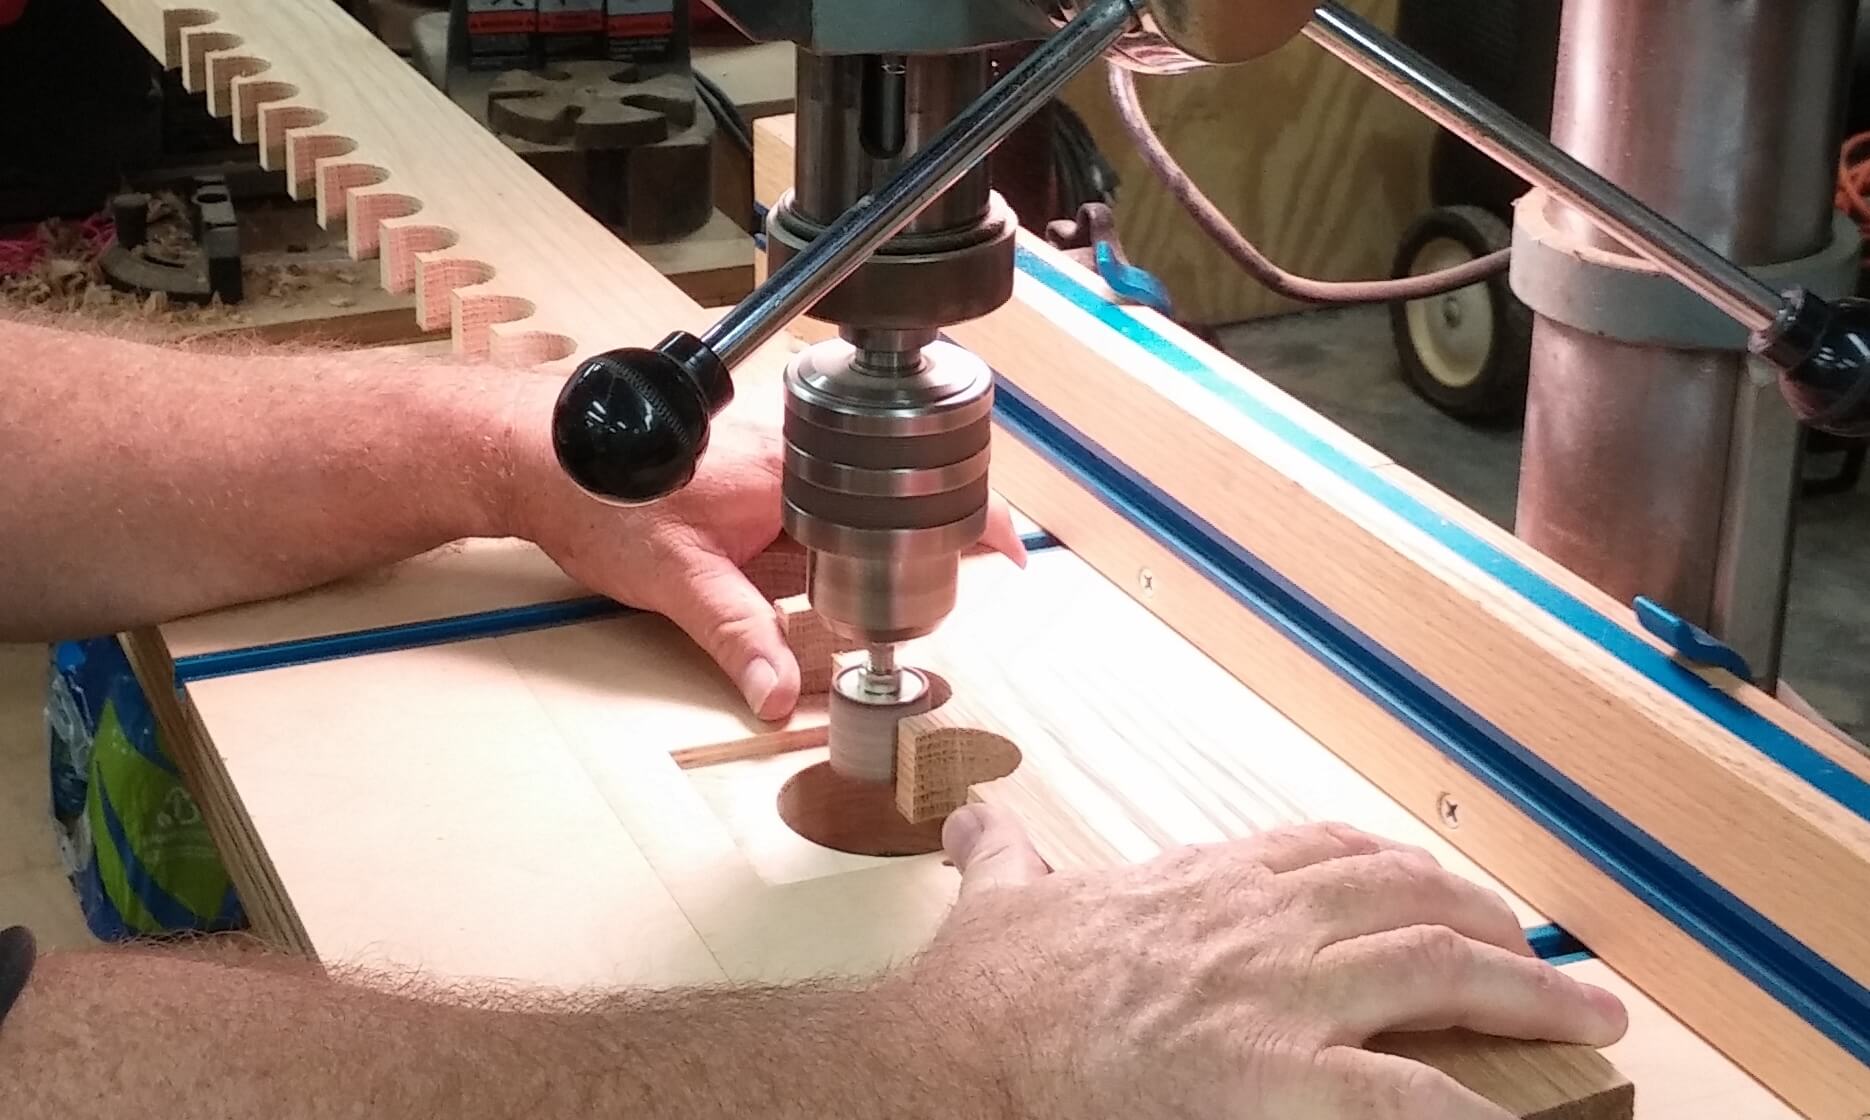
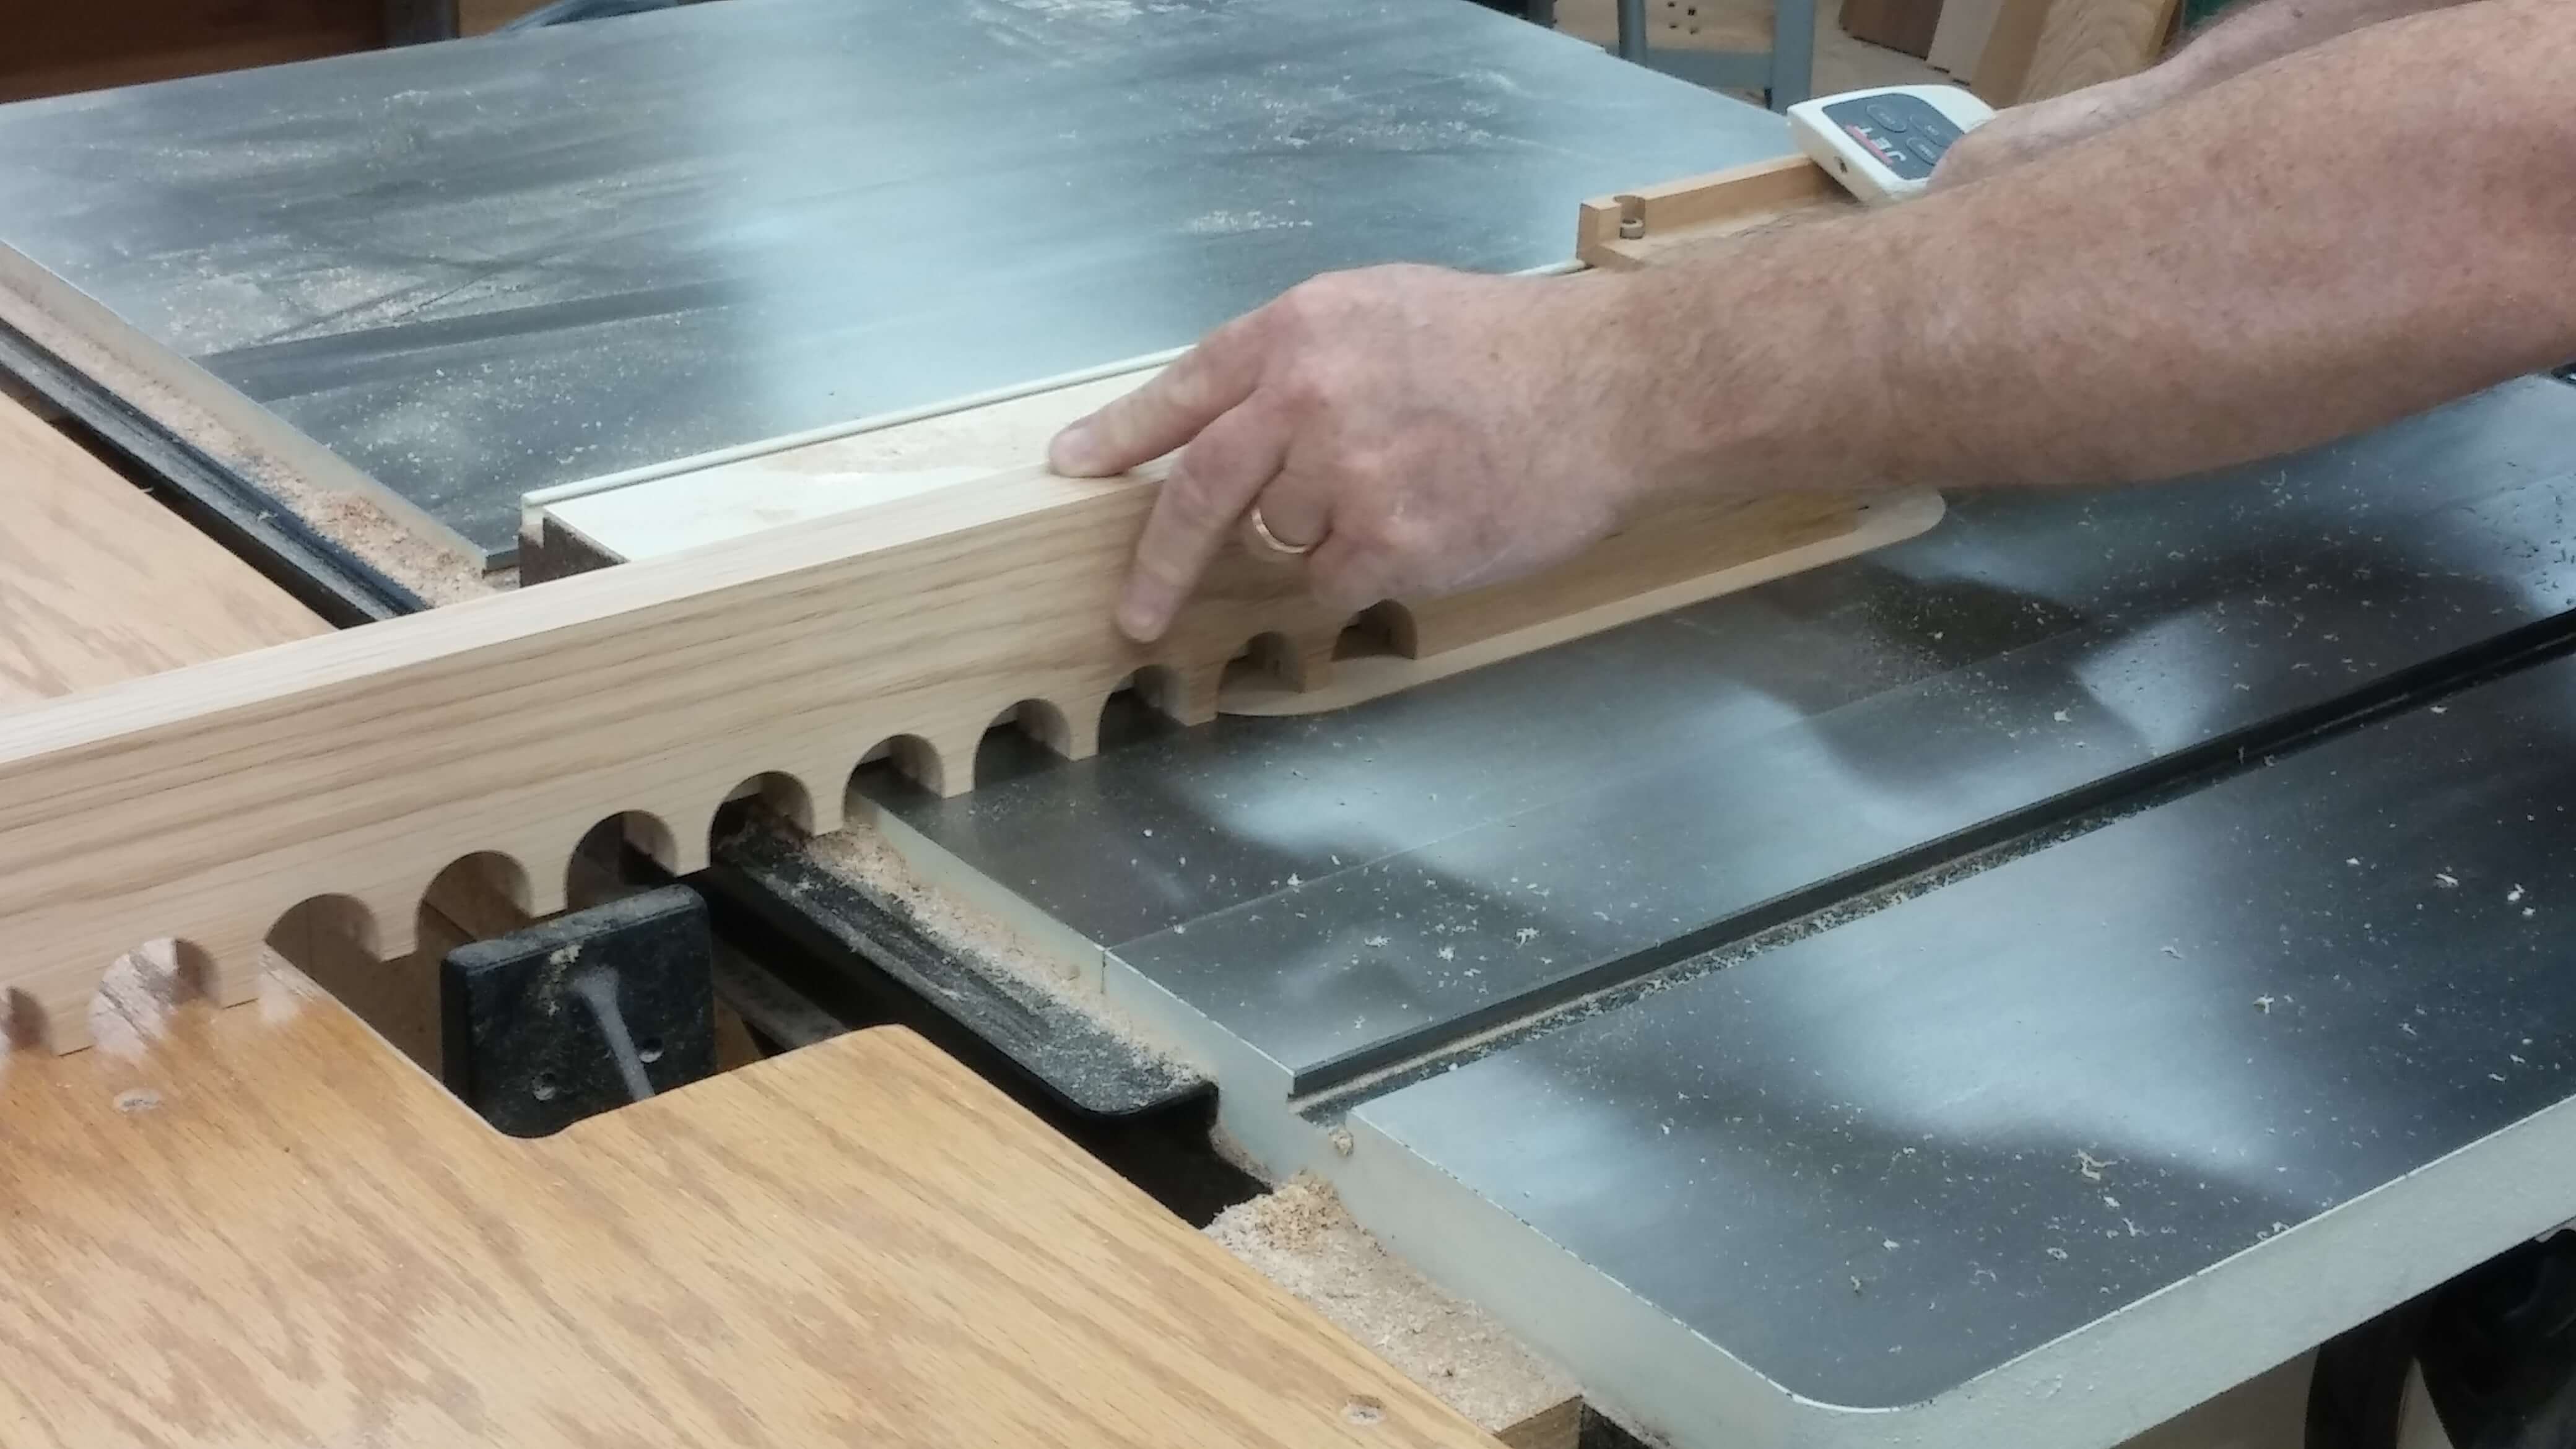
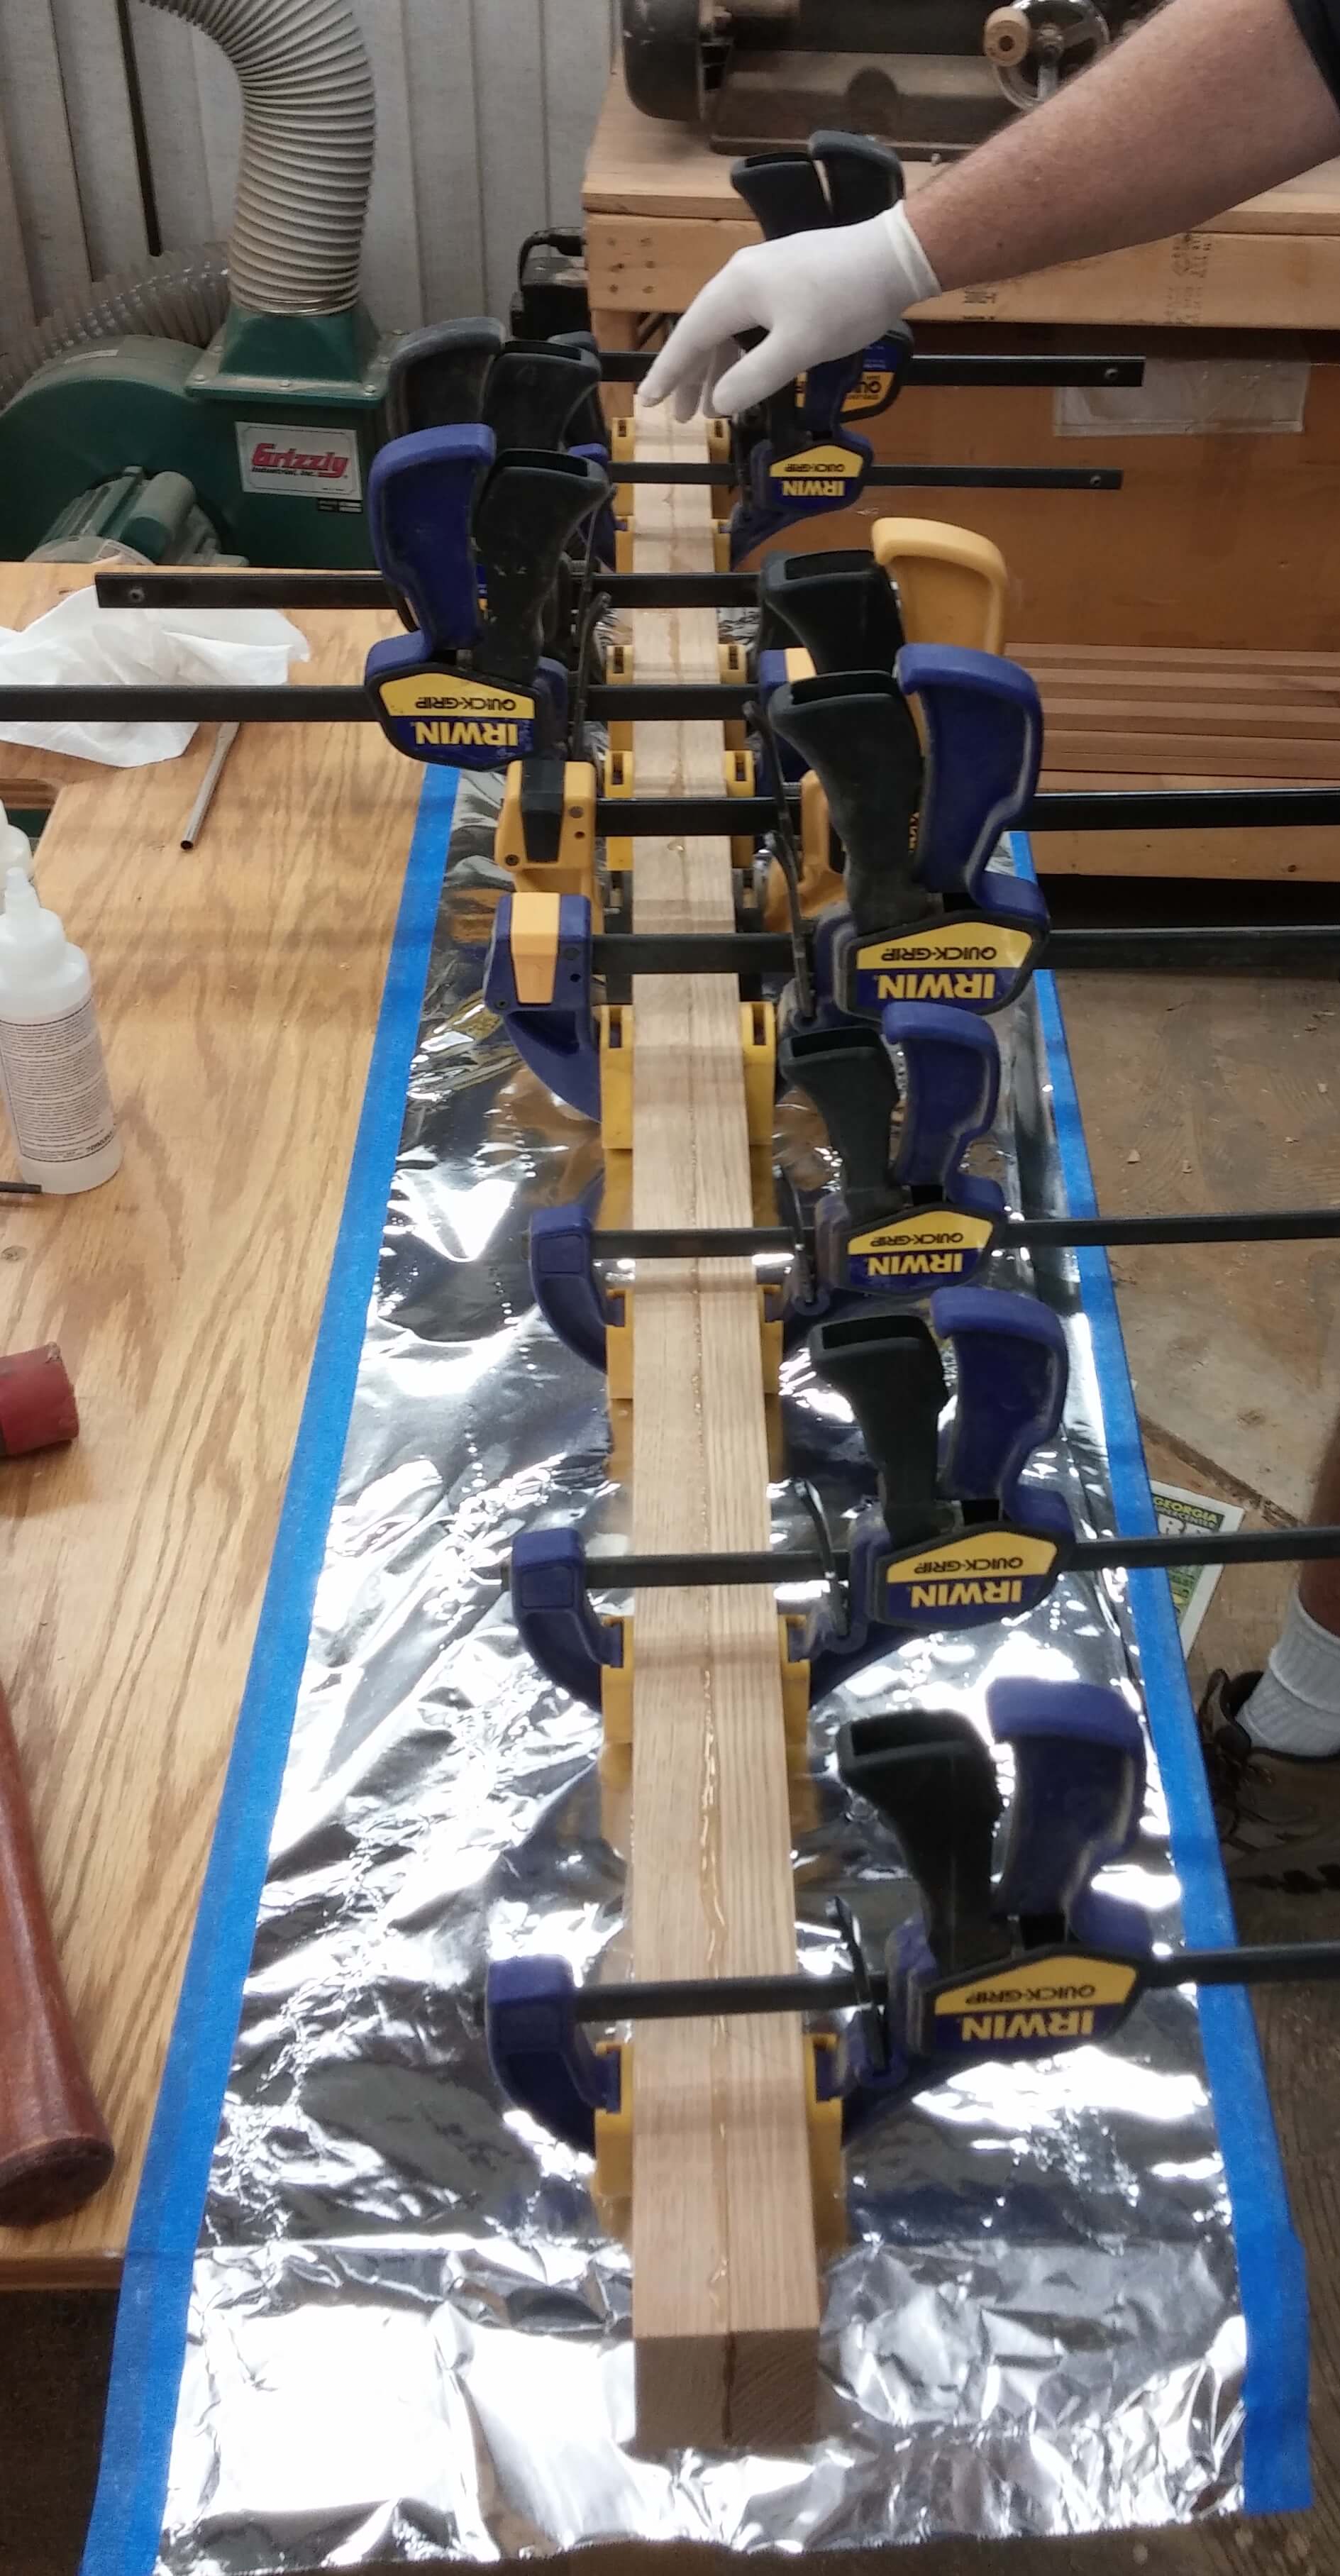
Next, we began building the frame out of hard white oak wood.
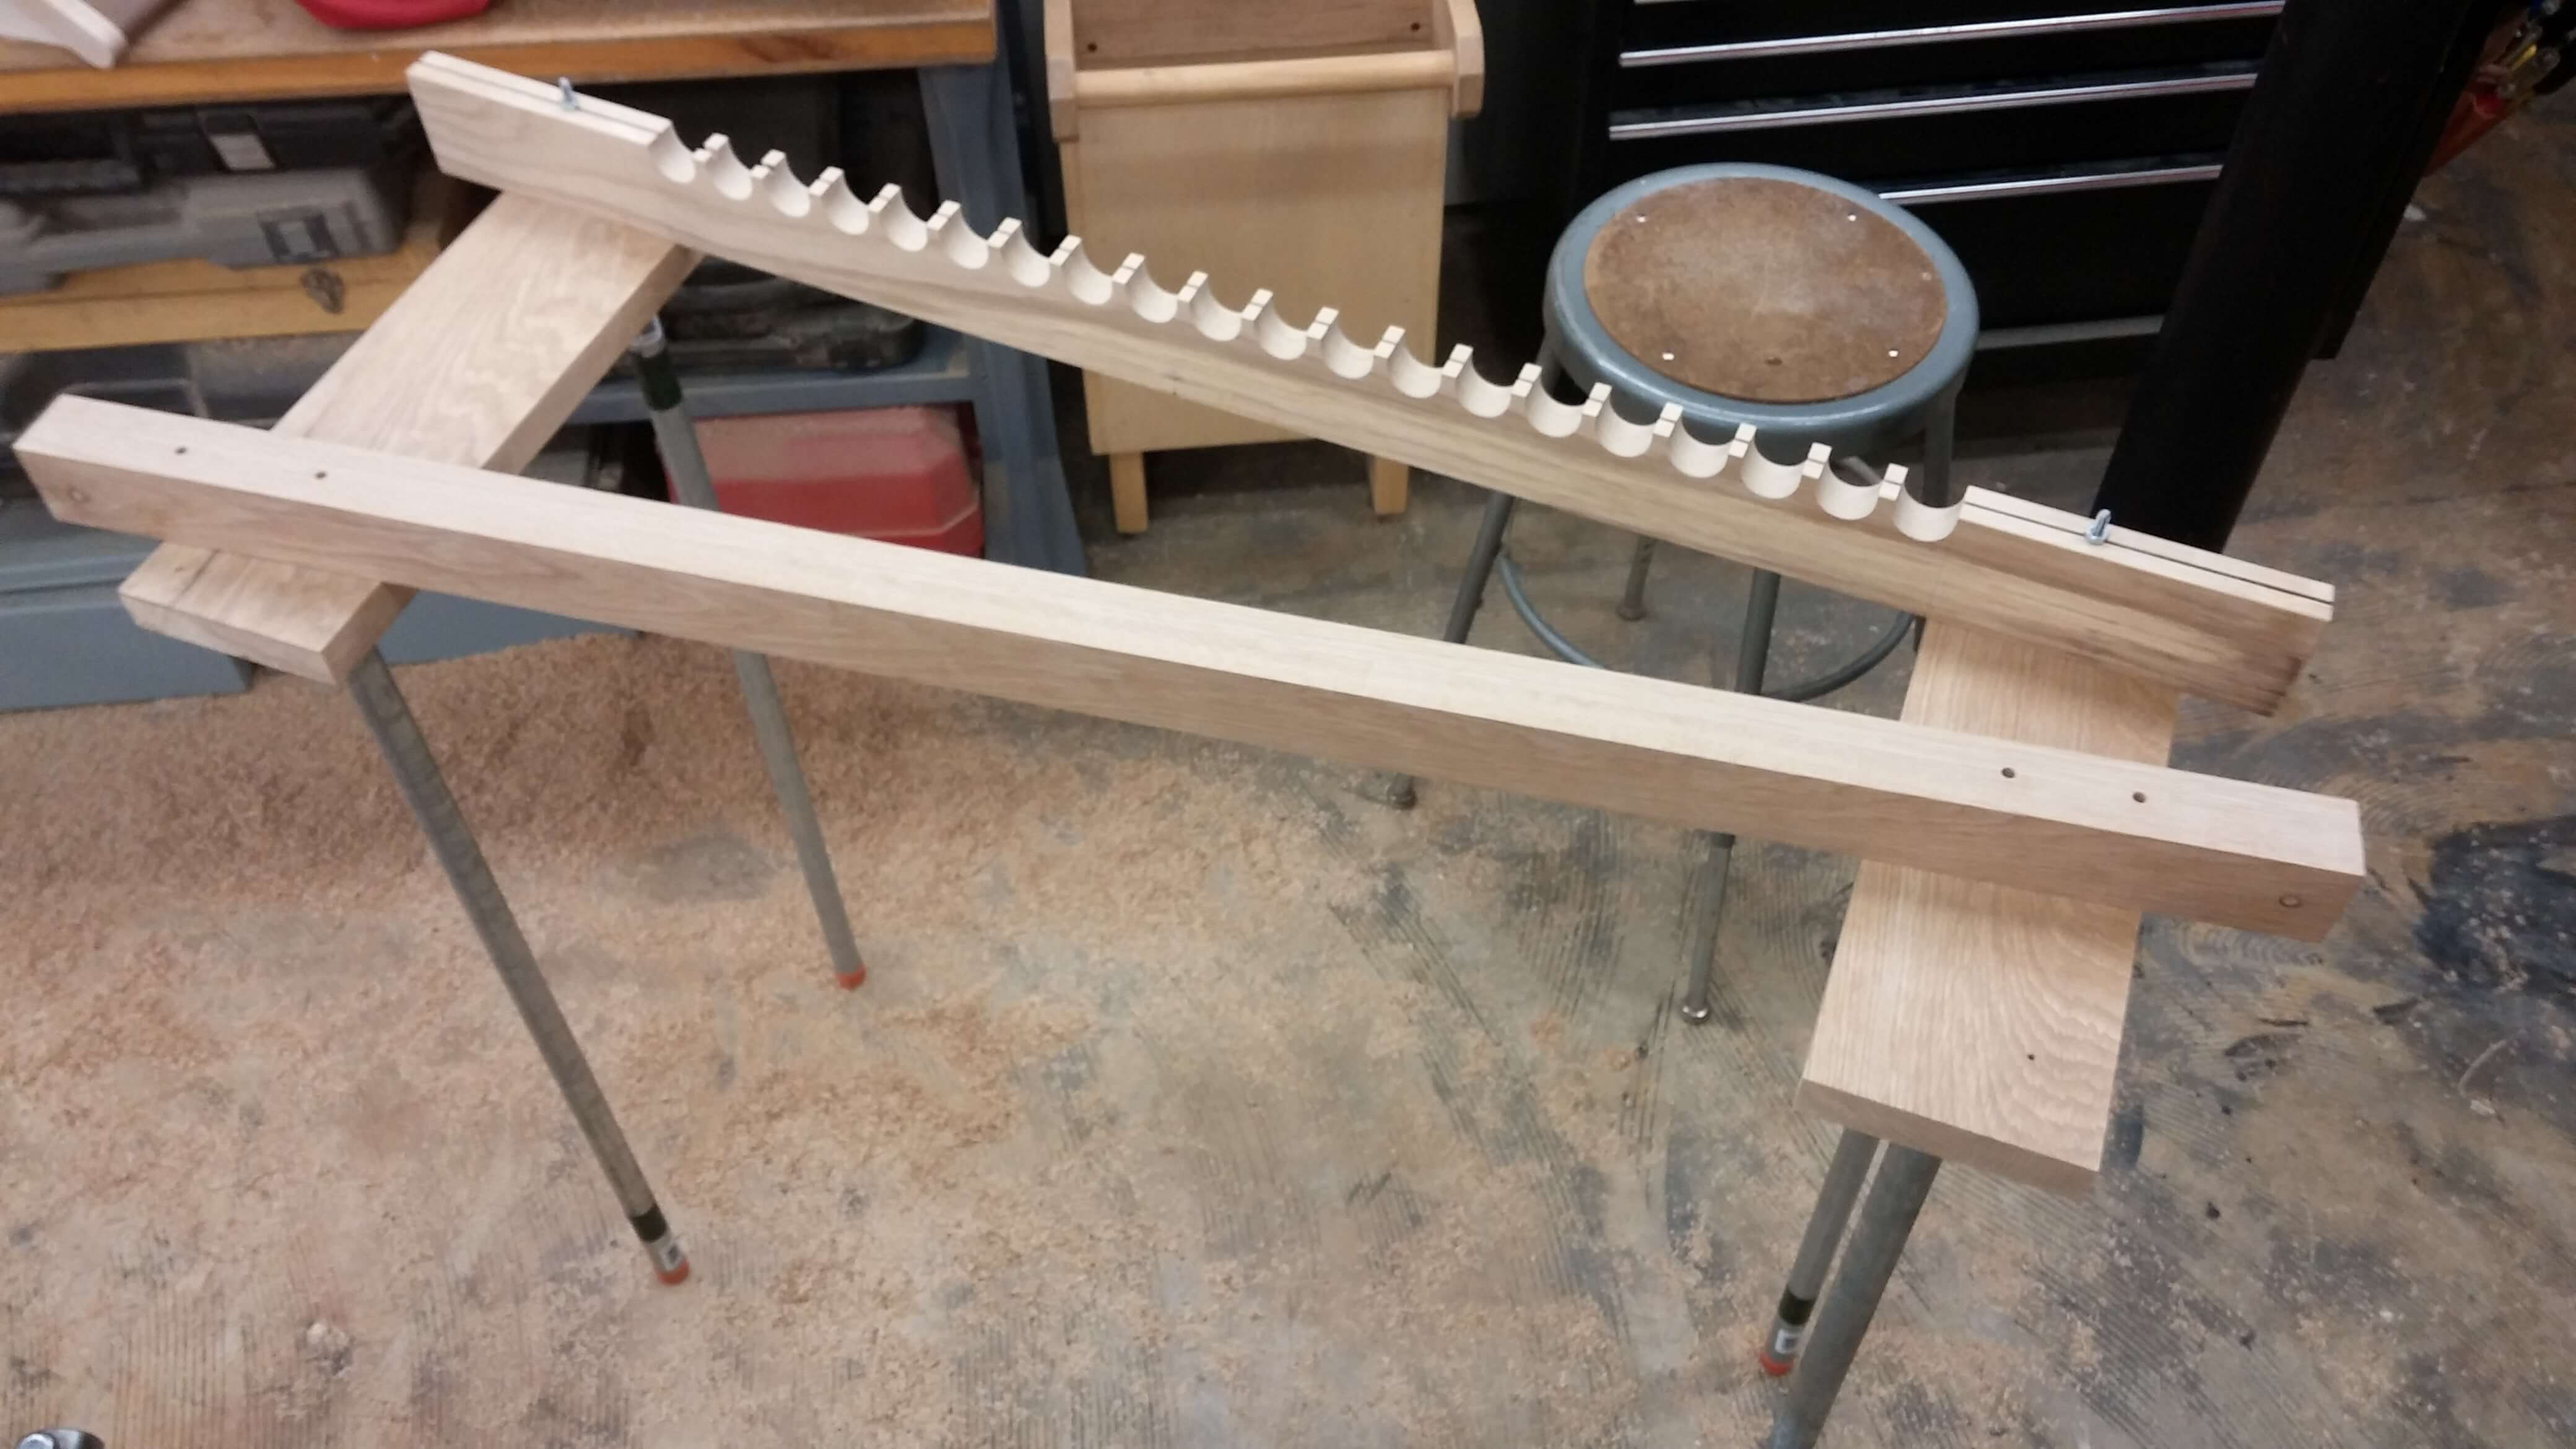
After finishing the top half of the frame and beginning to work on the bottom half, we decided we needed to do something a little differently. Due to the fact that the bottom half had to be angled along the tubes rather than perpendicular, we decided to use eyebolts rather than cut out parts of the wood. We also realized that we had cut the top and bottom holes for the cord perpendicular rather than angled for the bottom one. So we needed a way to position each eyebolt differently rather than line them up in a straight line.
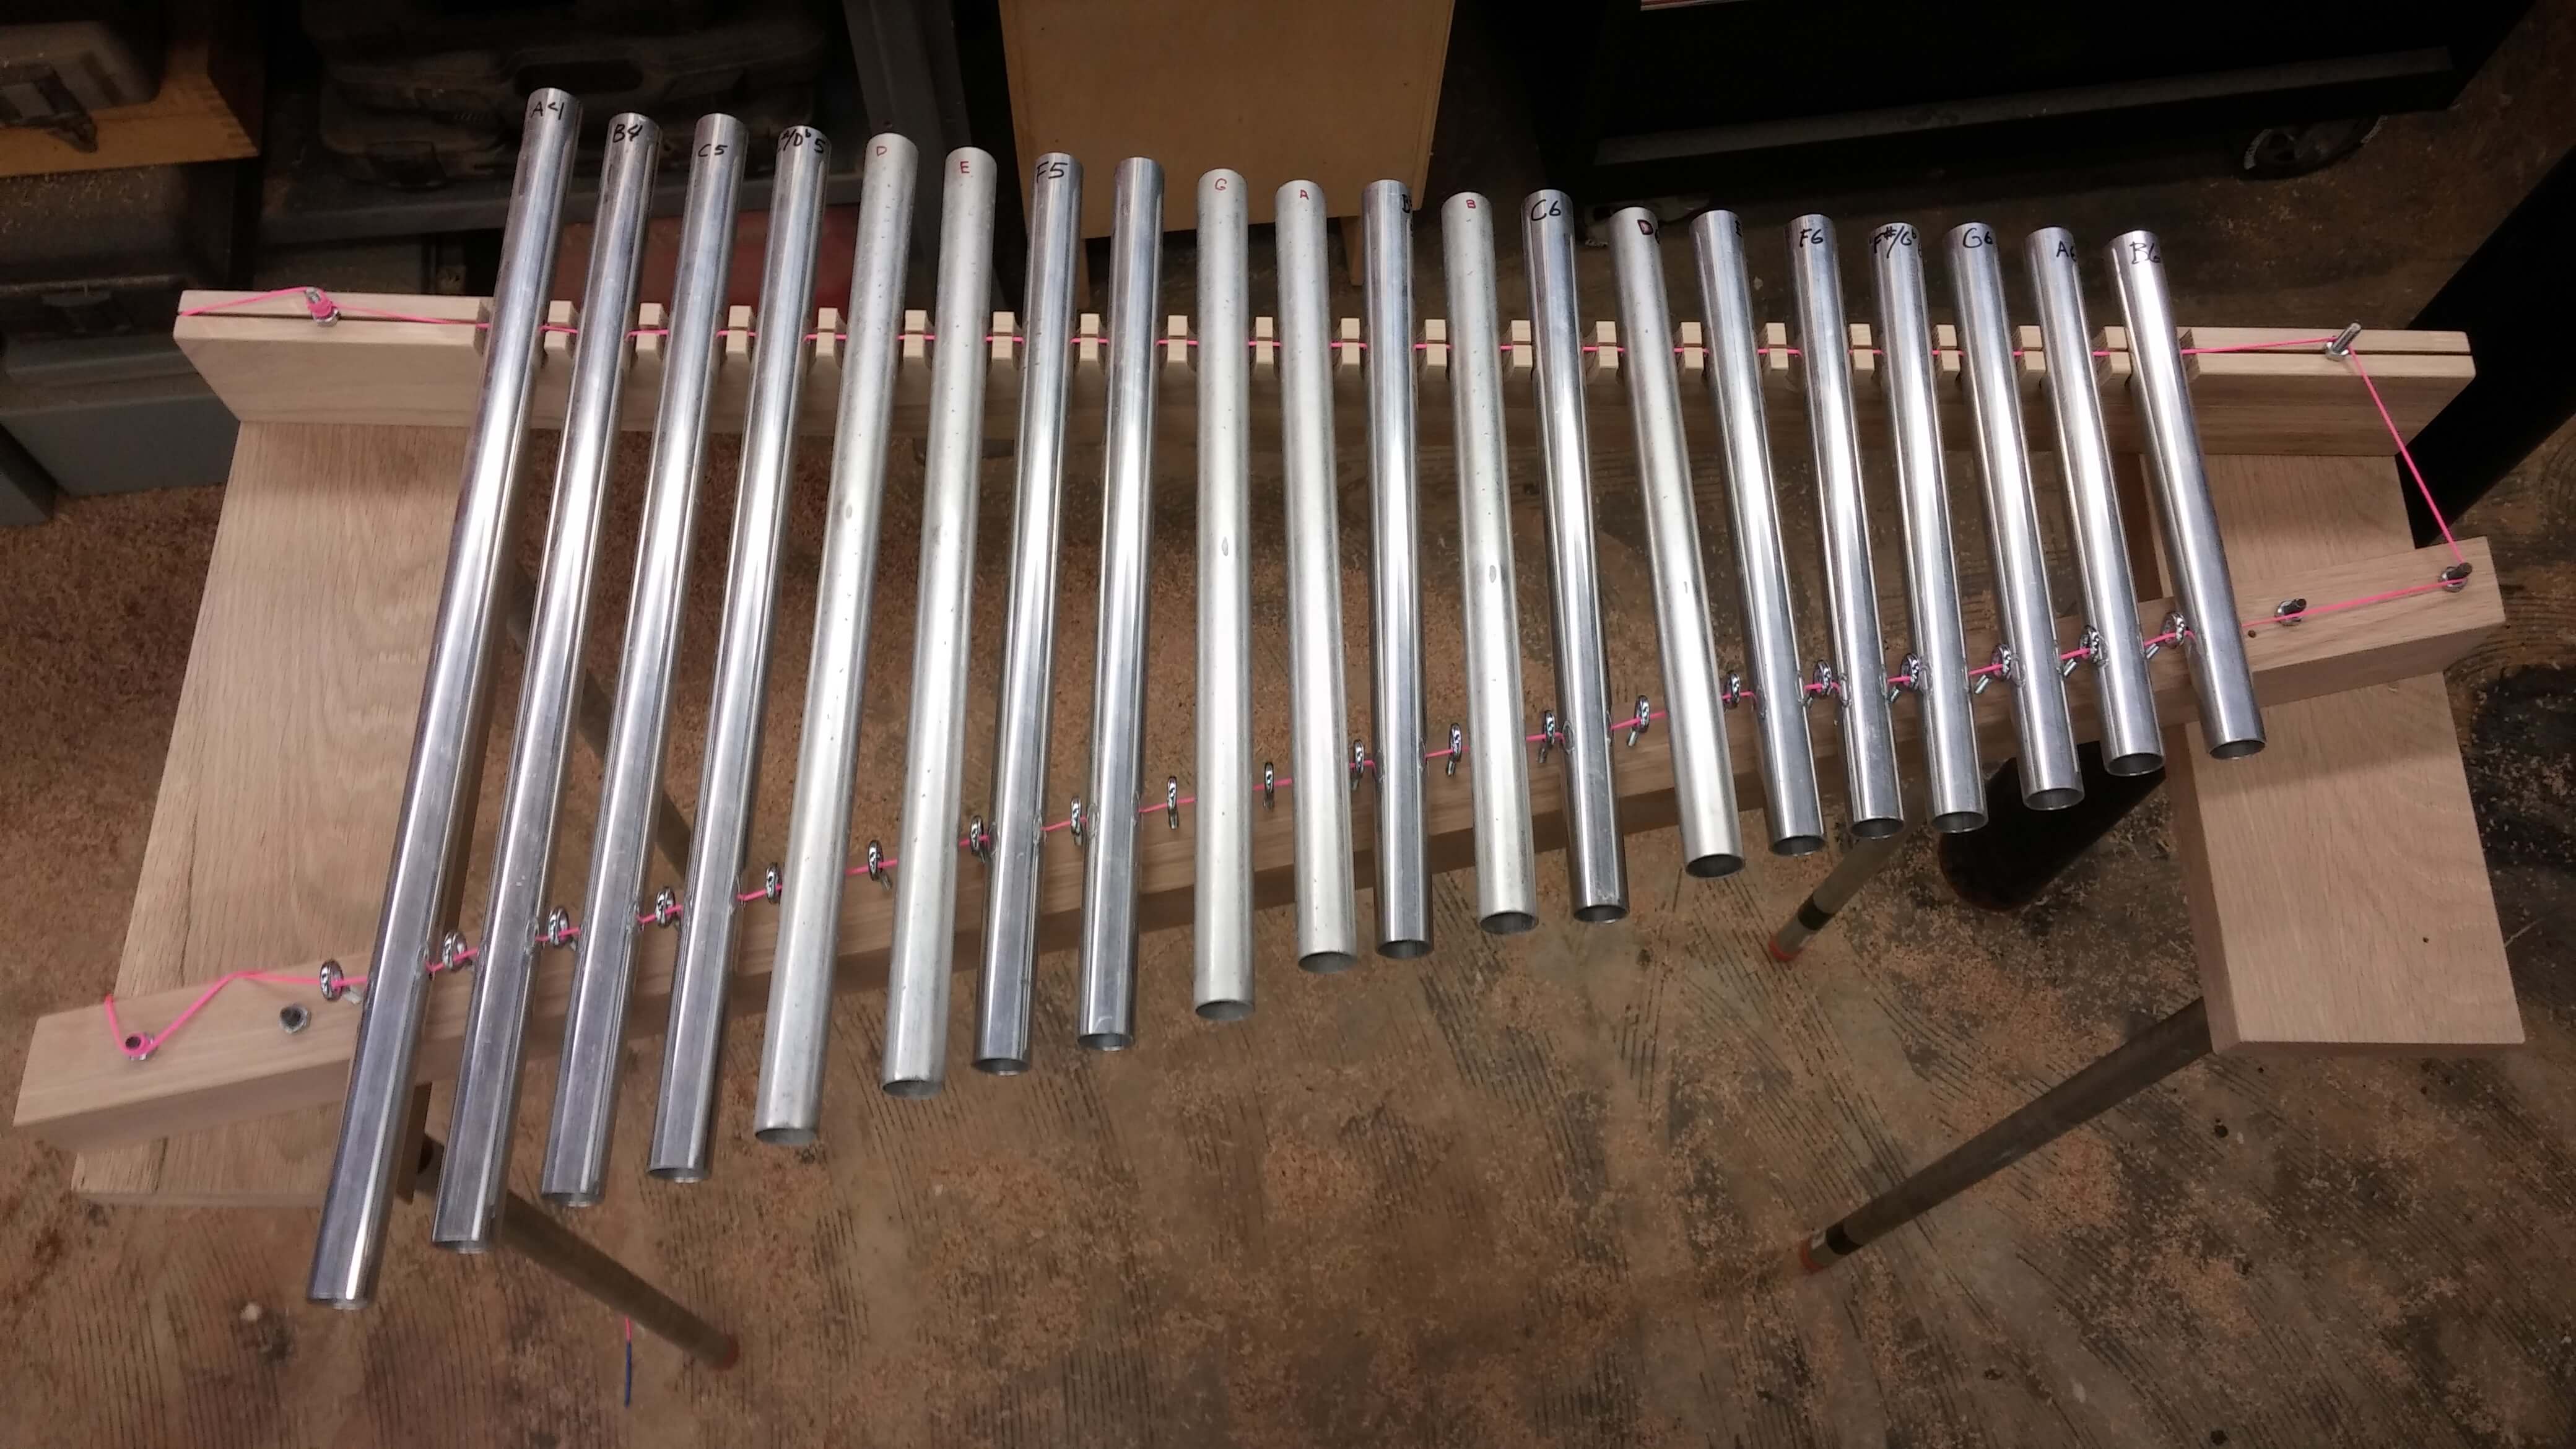
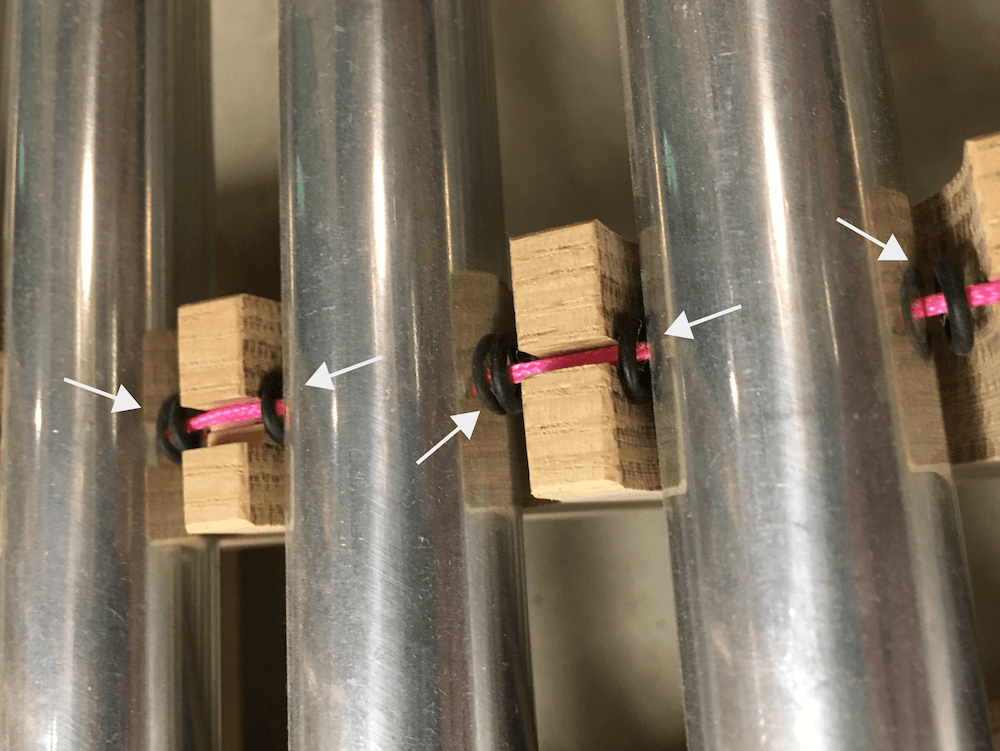
Finally, we had it all put together, and I was able to start playing it. It sounded great! There was some slight buzzing on some of the notes produced by the tubes vibrating against the wood frame. After researching possible solutions, I came across some cheap, rubber washers at Lowes. Placing these are either side of the tube’s holes solved this problem.
Tests with musician friends revealed that it was a bit difficult to play since the natural and accidentals (white and black keys on a piano) were on the same level. While they could get used to it, it did add a lot more “cognitive load” for the user than I had anticipated. And this is why the UX process is great! In theory, I would have tested these designs out before building them.
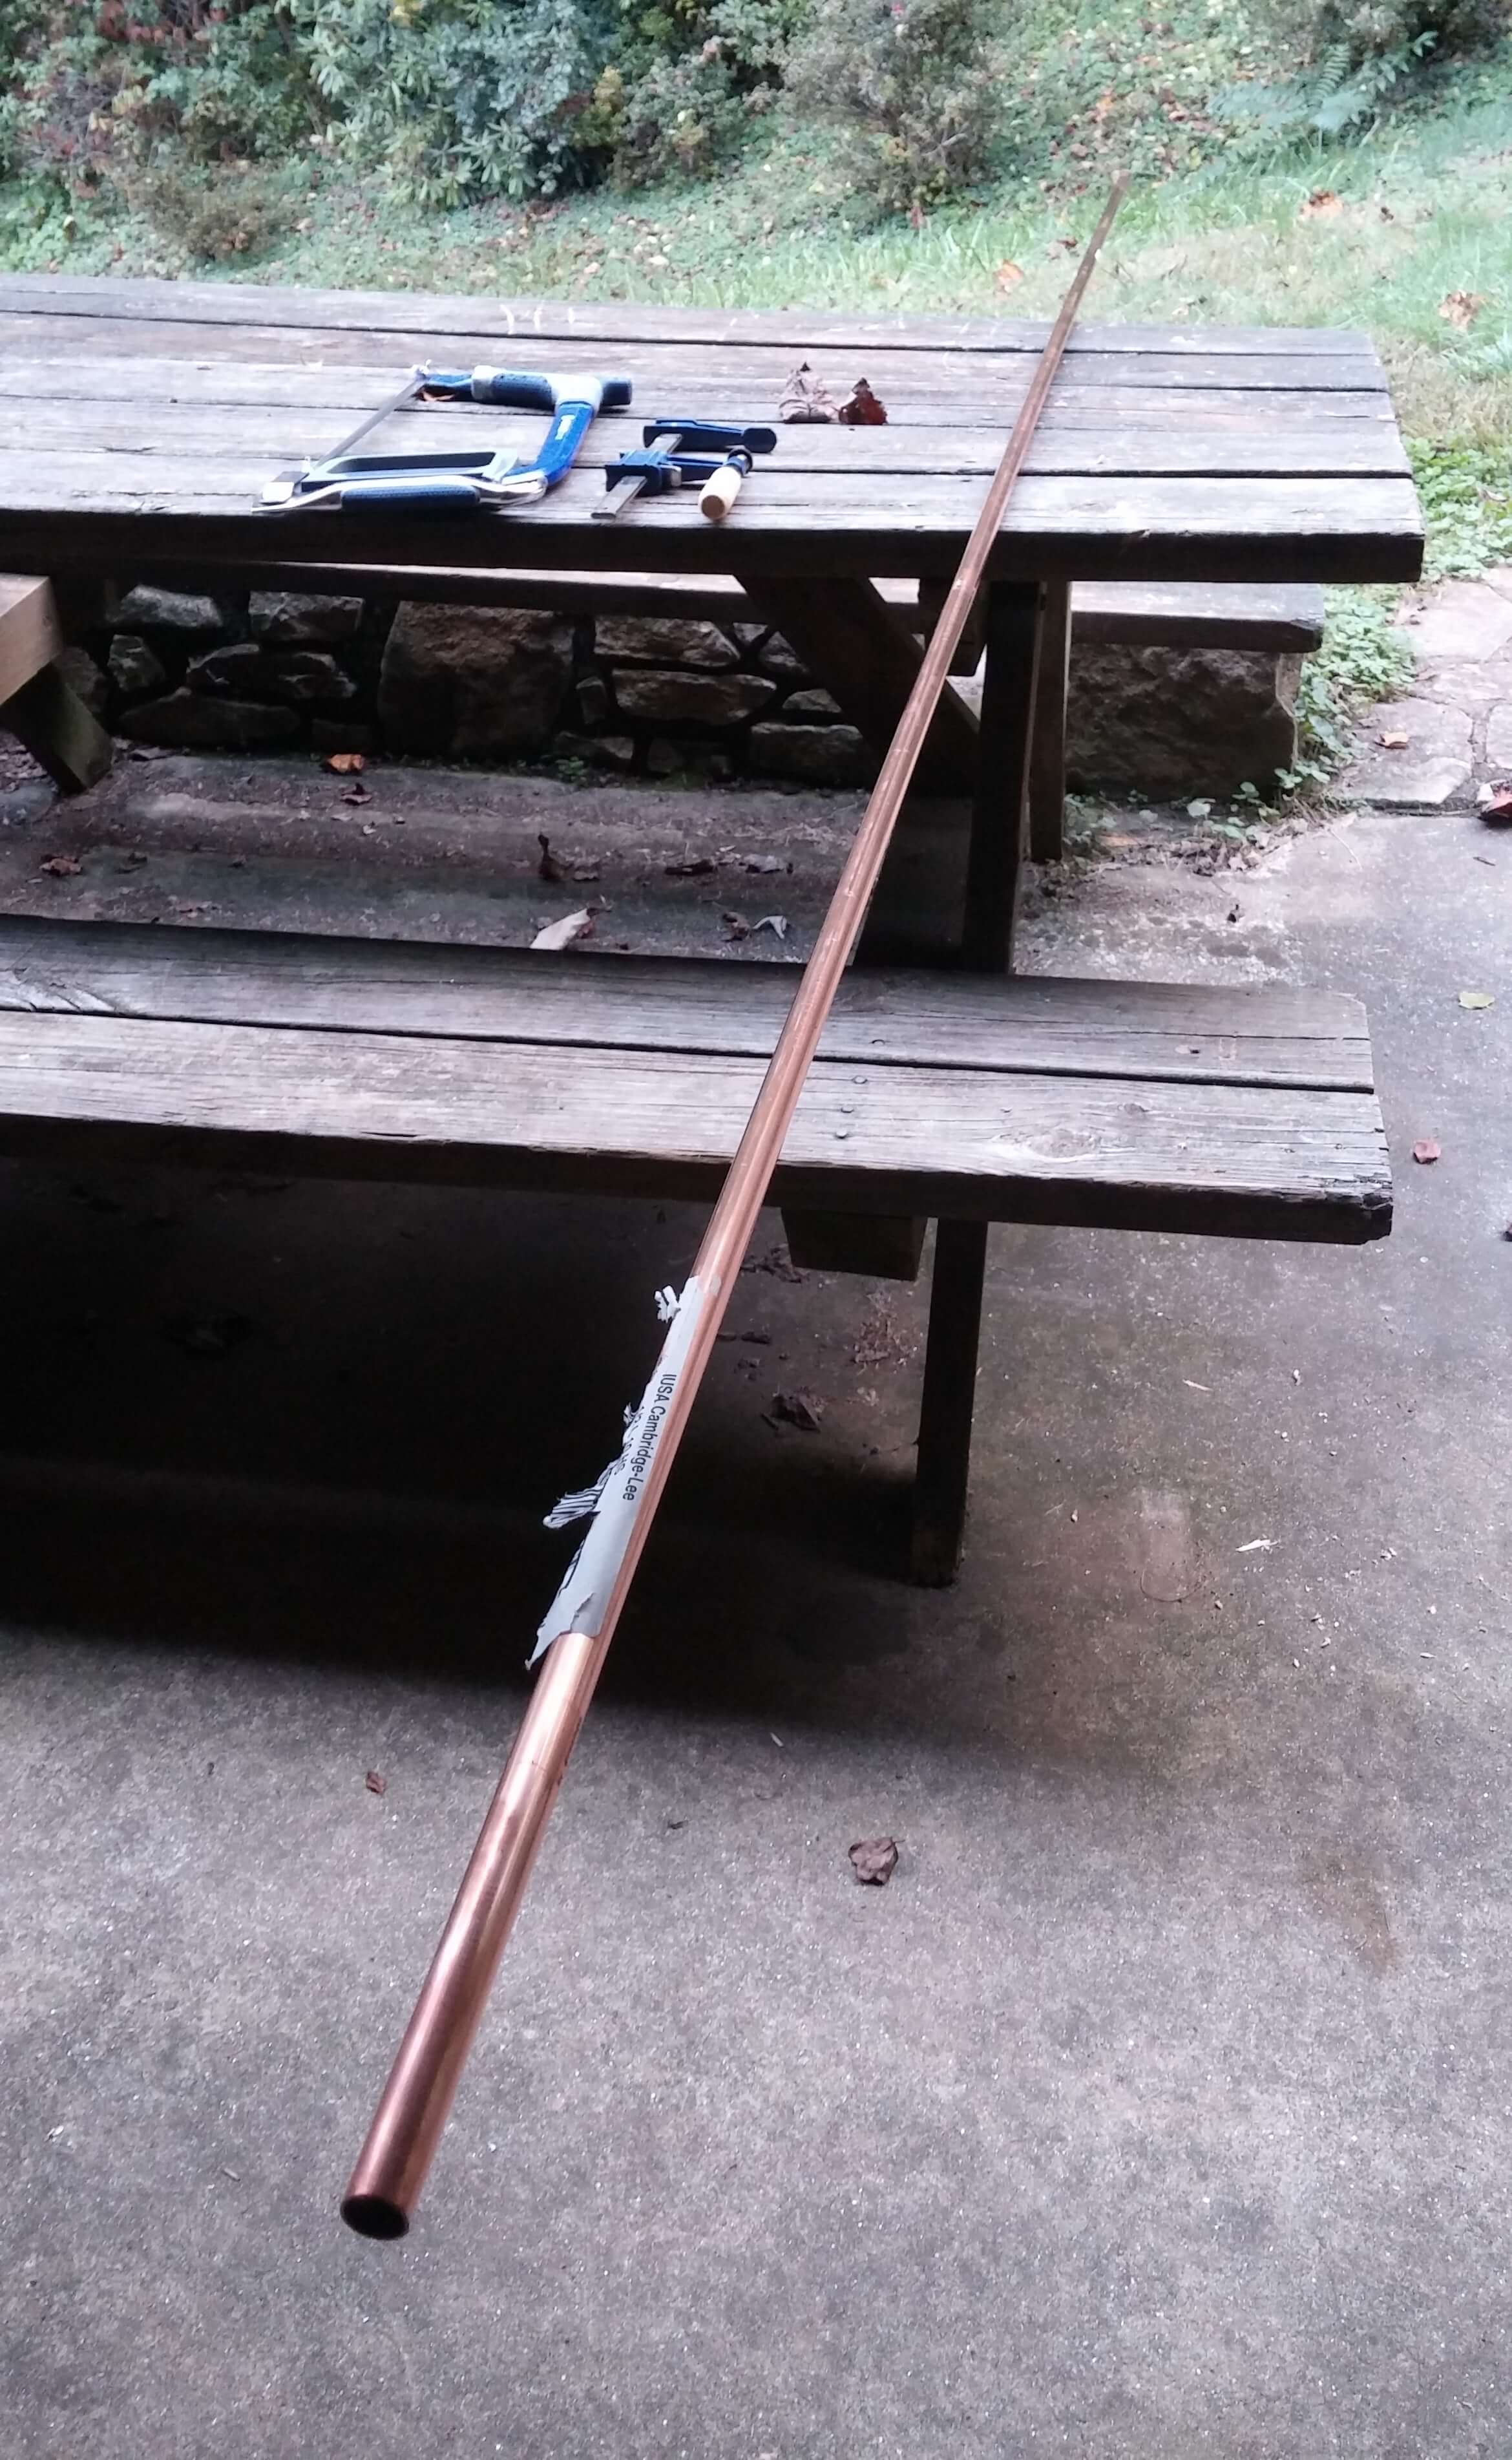
After a year or so of performing and recording with this instrument, I found myself at Lowes perusing the plumbing section. I don’t remember what I was looking for, but I stumbled across some type L copper tubing that was pretty cheap and could be bought in bulk. I already knew that copper wind chimes was a thing, so why not a copper tubaphone?
Immediately after getting back home I began researching the sound qualities of copper tubing. I came across some positive thoughts about it, but decided I needed to build a small prototype to test it out. If this copper tubing sounded good, then I would be able to build another more functional tubaphone for even cheaper!
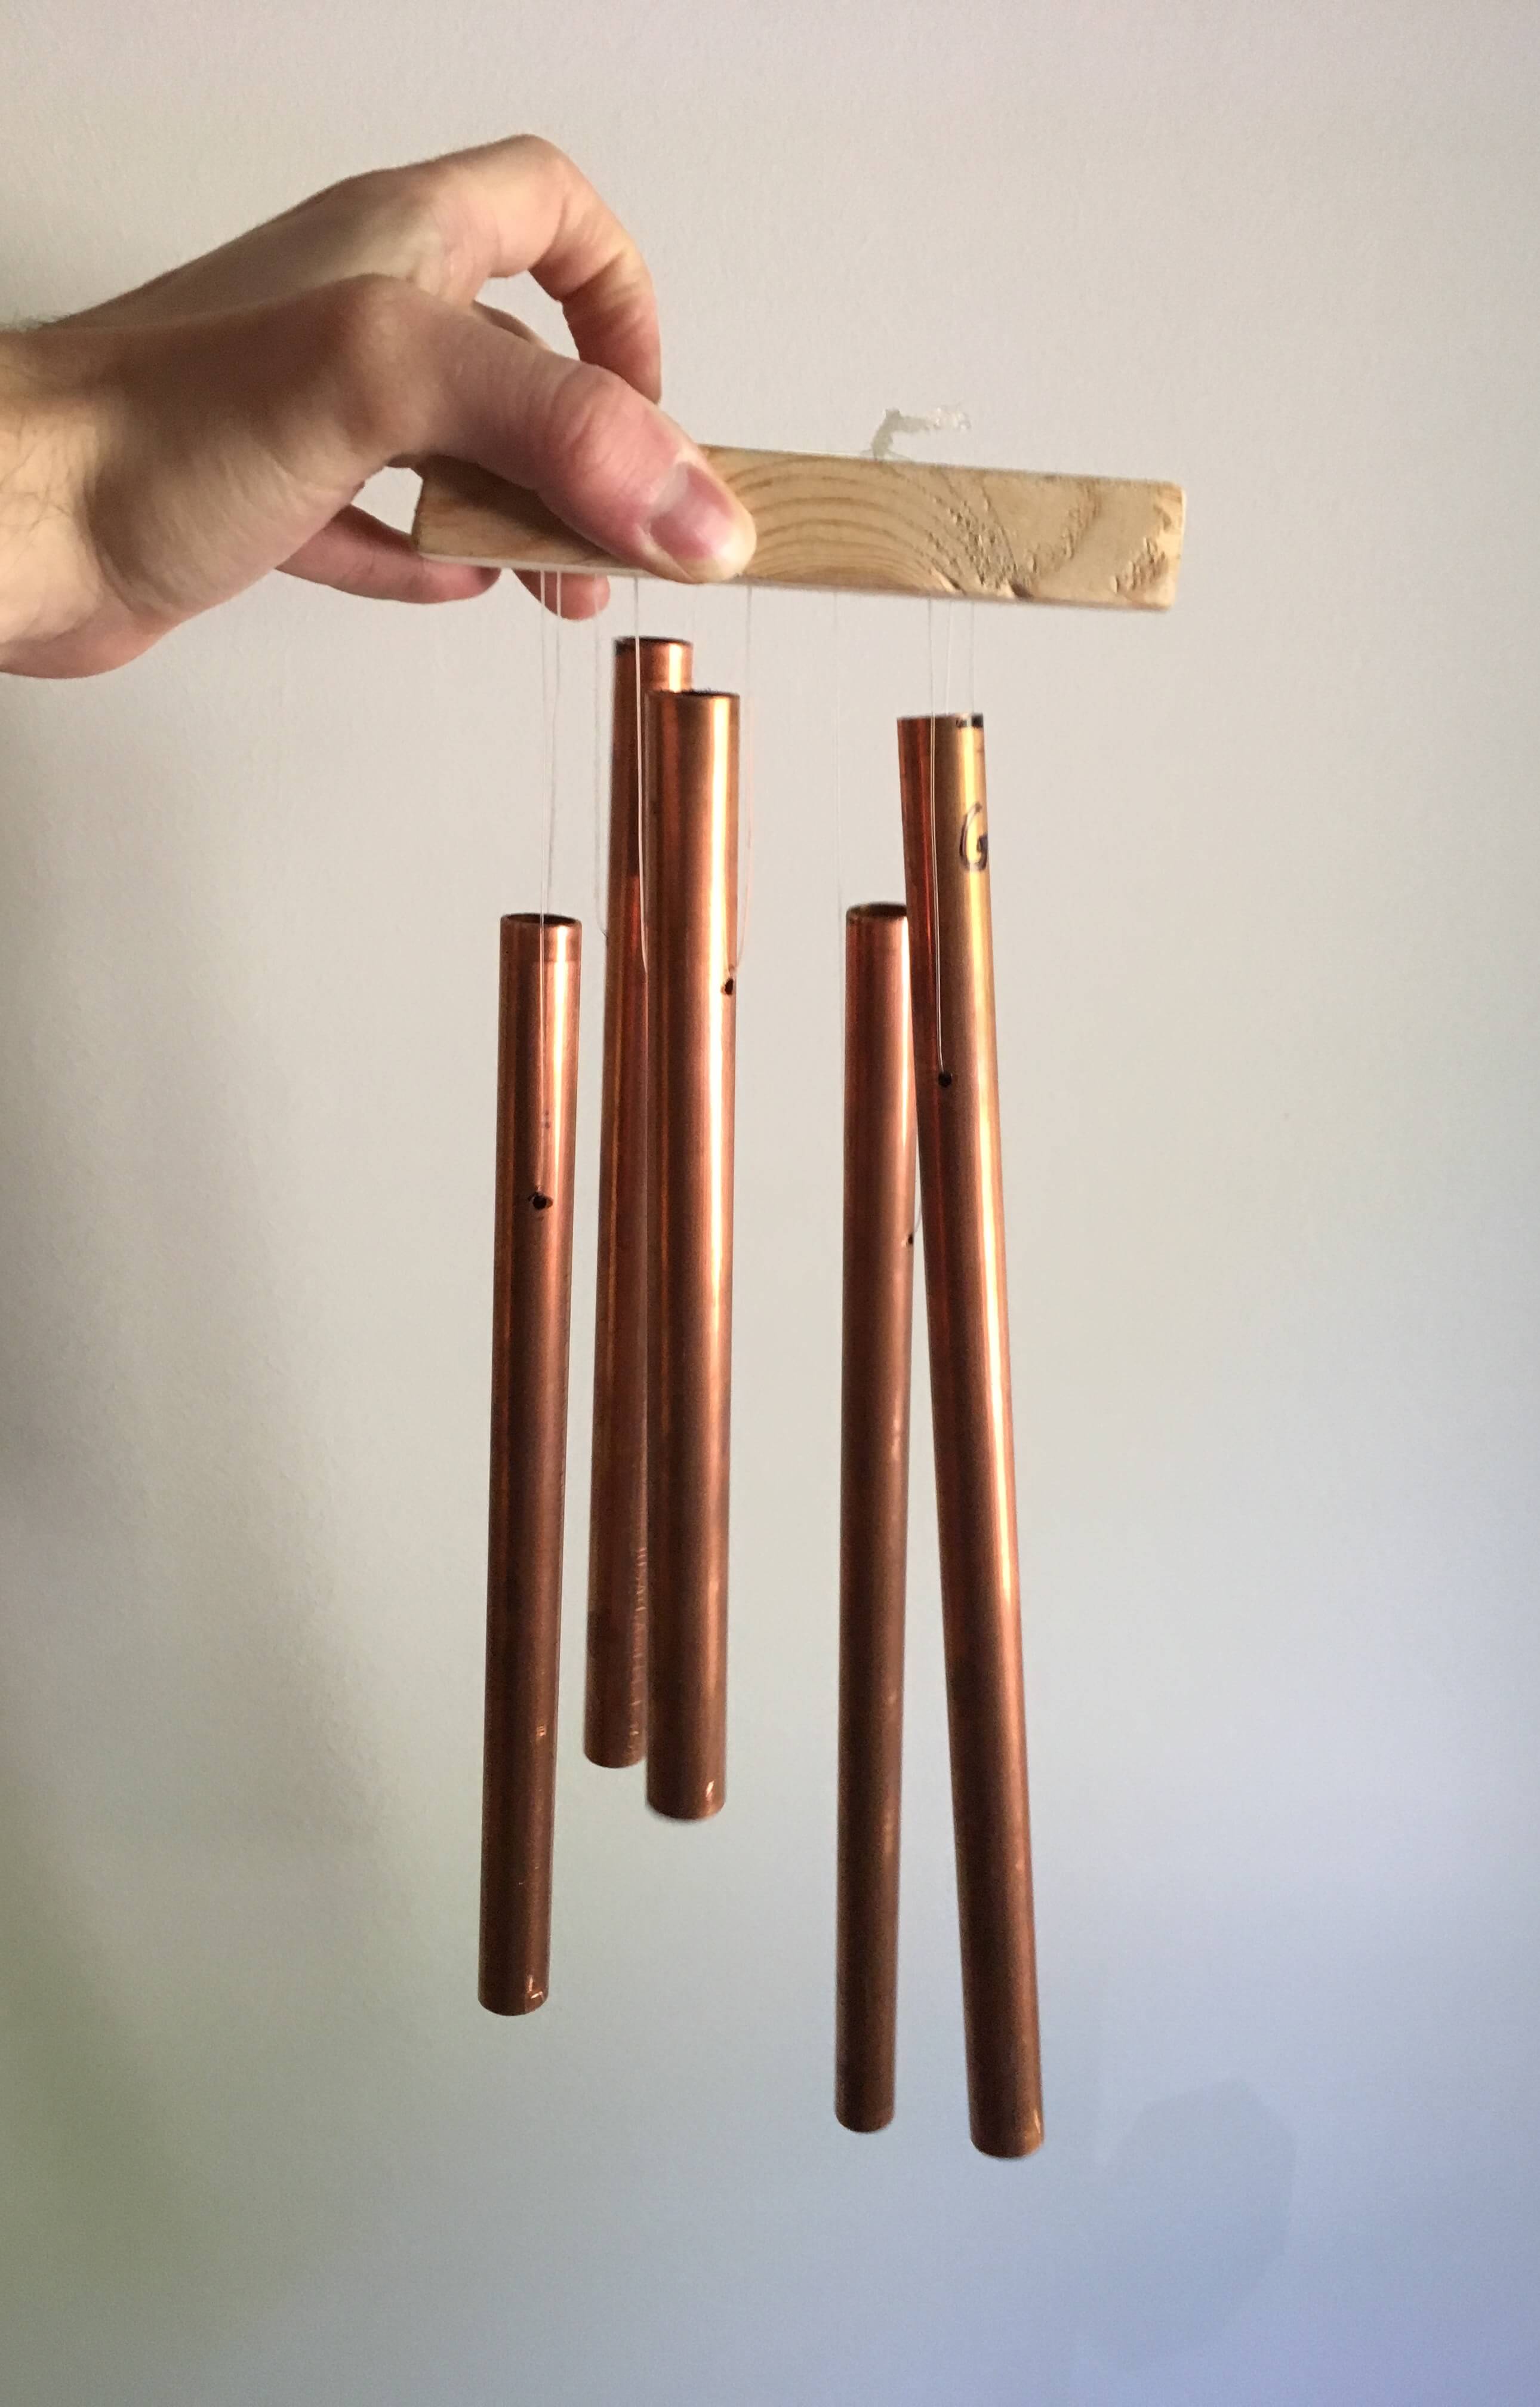
My prototype was a return to what first made me interested in this project: wind chimes. I built two sets to adequately test the sound quality and ease of tuning. Overall I was satisfied with the sound and began sketching designs for Tubaphone V2.
Keeping in mind the design mistakes I made with the first tubaphone, I spent a lot of time ideating on the frame. Specifically, the relationship between the accidentals (top row) and the naturals (bottom row).
After about a month of cutting, tuning, redesigning, and weekly trips to Lowes, tubaphone 2 was completed.
I tested it out with more musician friends again, and this one was more playable. While it did not sound the same as my first aluminum version, it did significantly reduce the cognitive load on my users.